July 2016 Archives

Averisera: Interior Refinishing

| No Comments | No TrackBacks
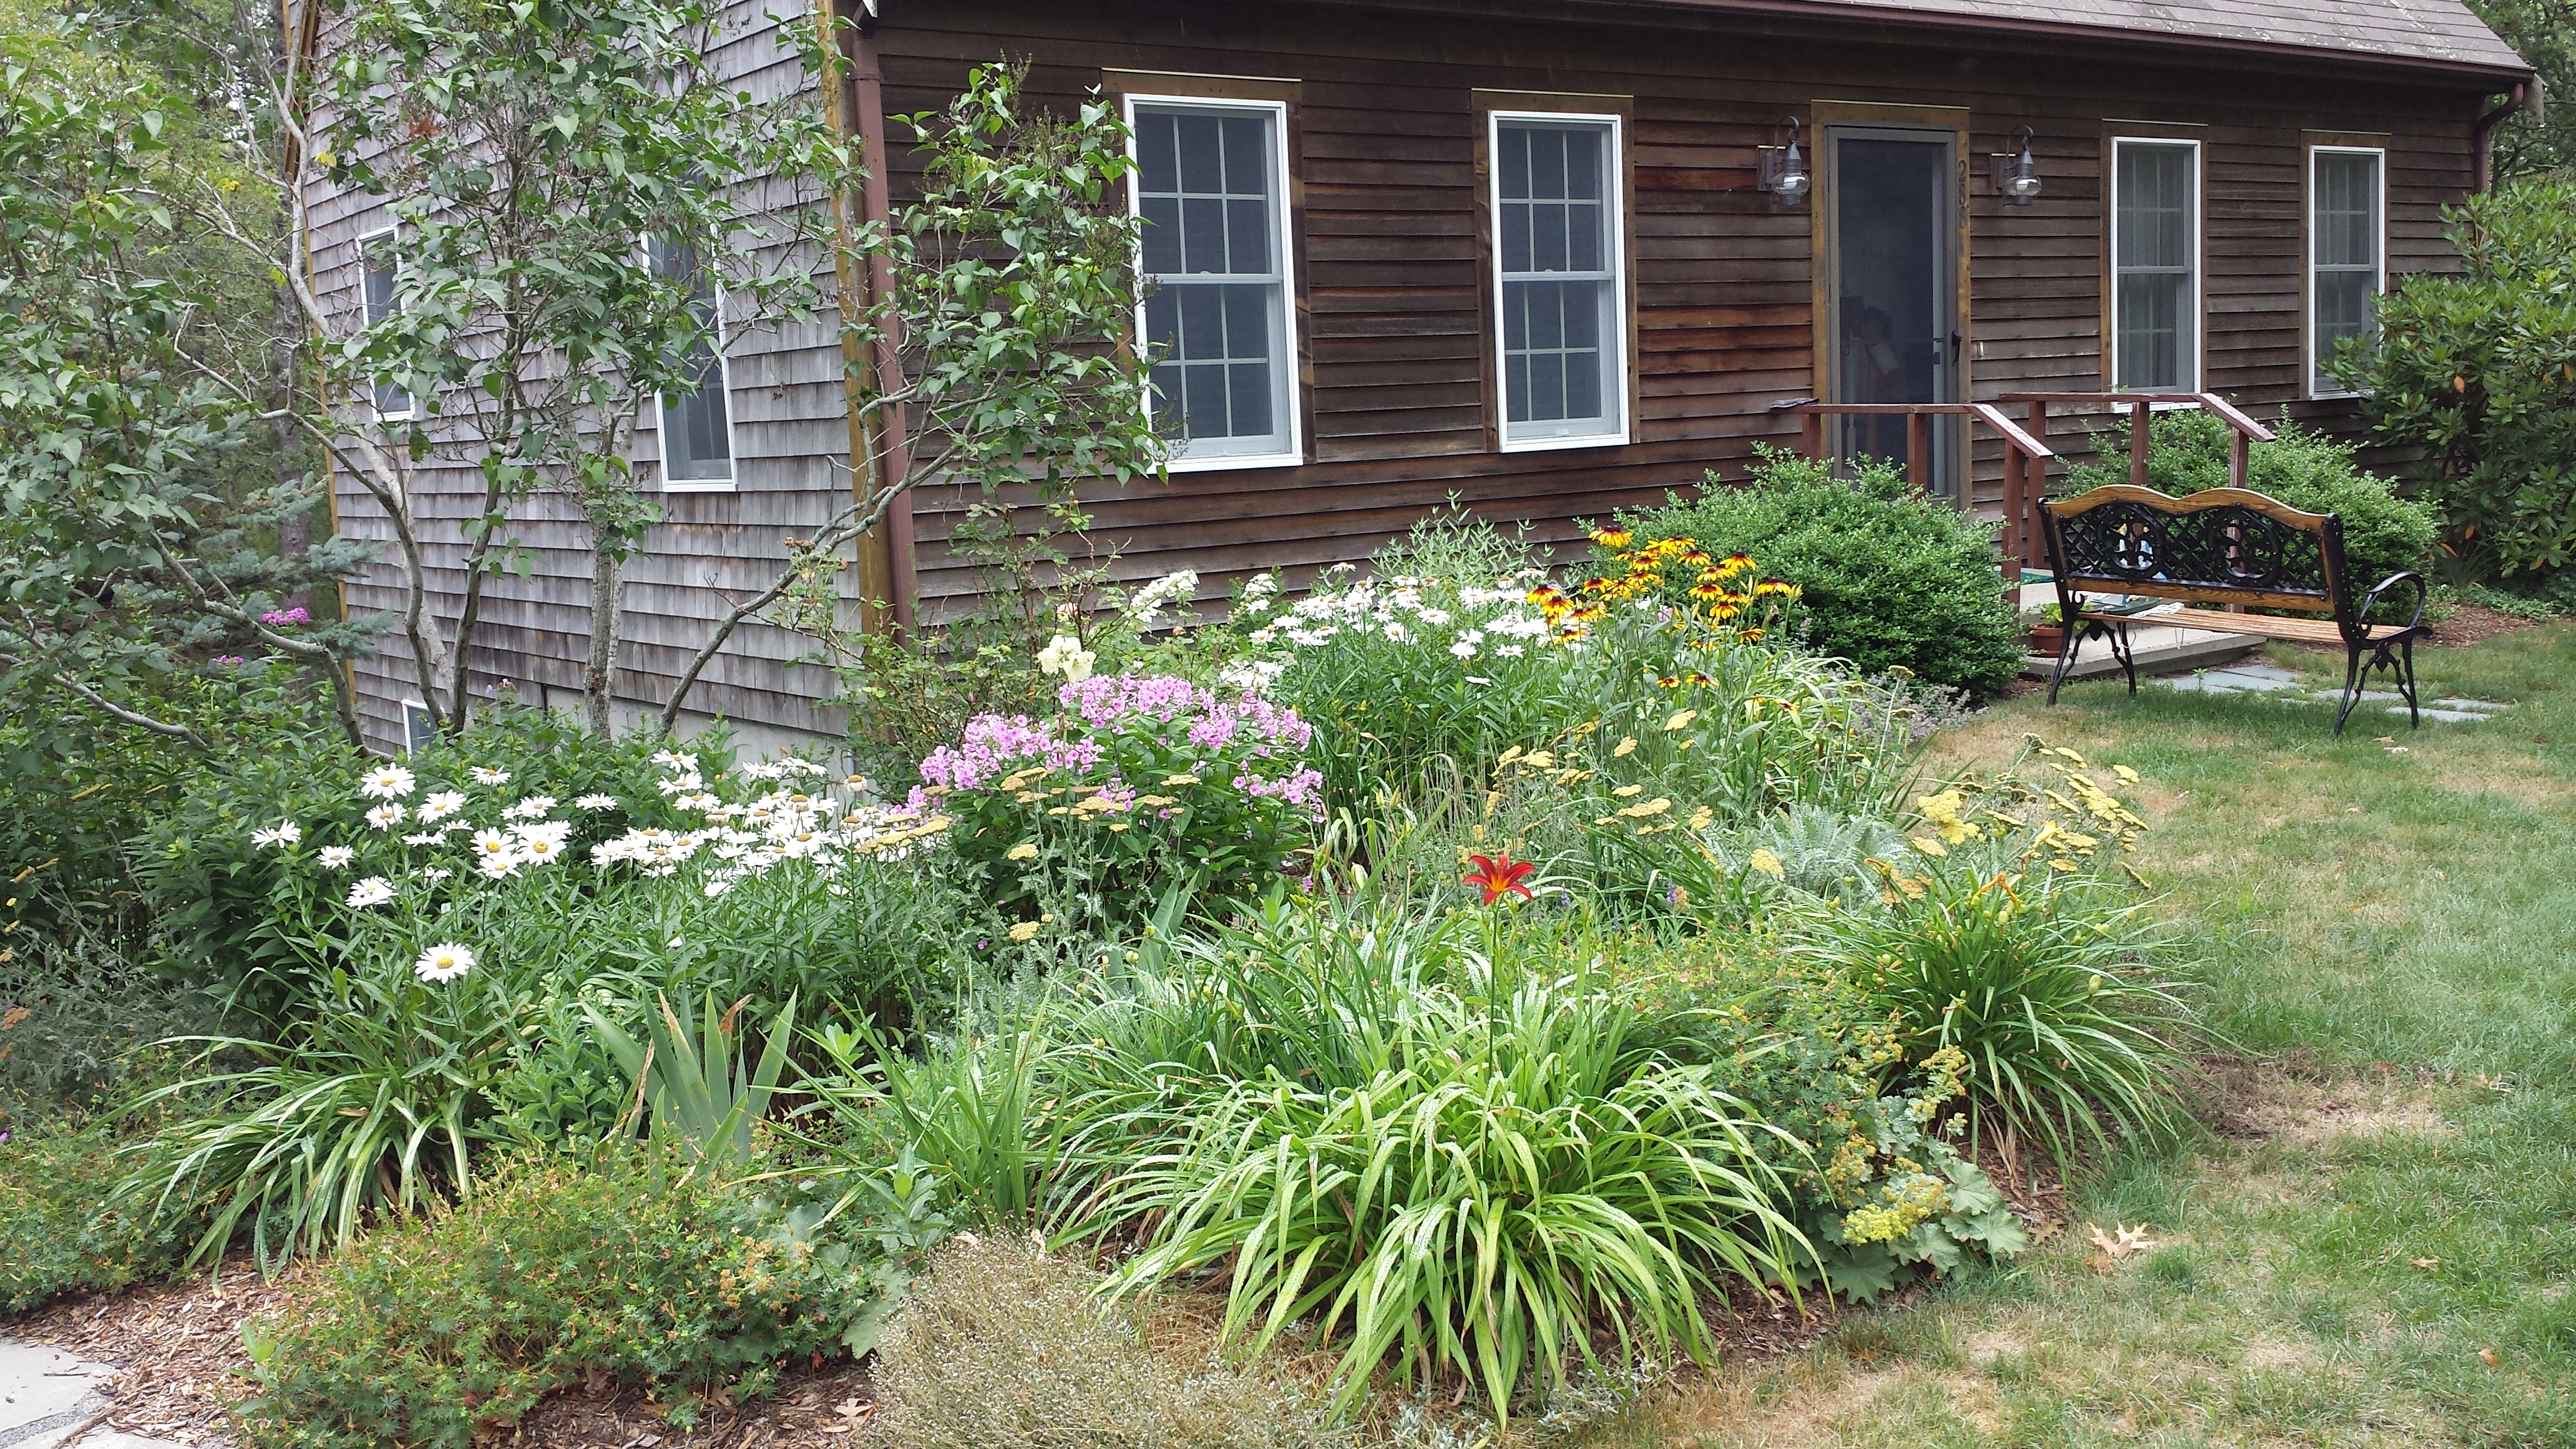
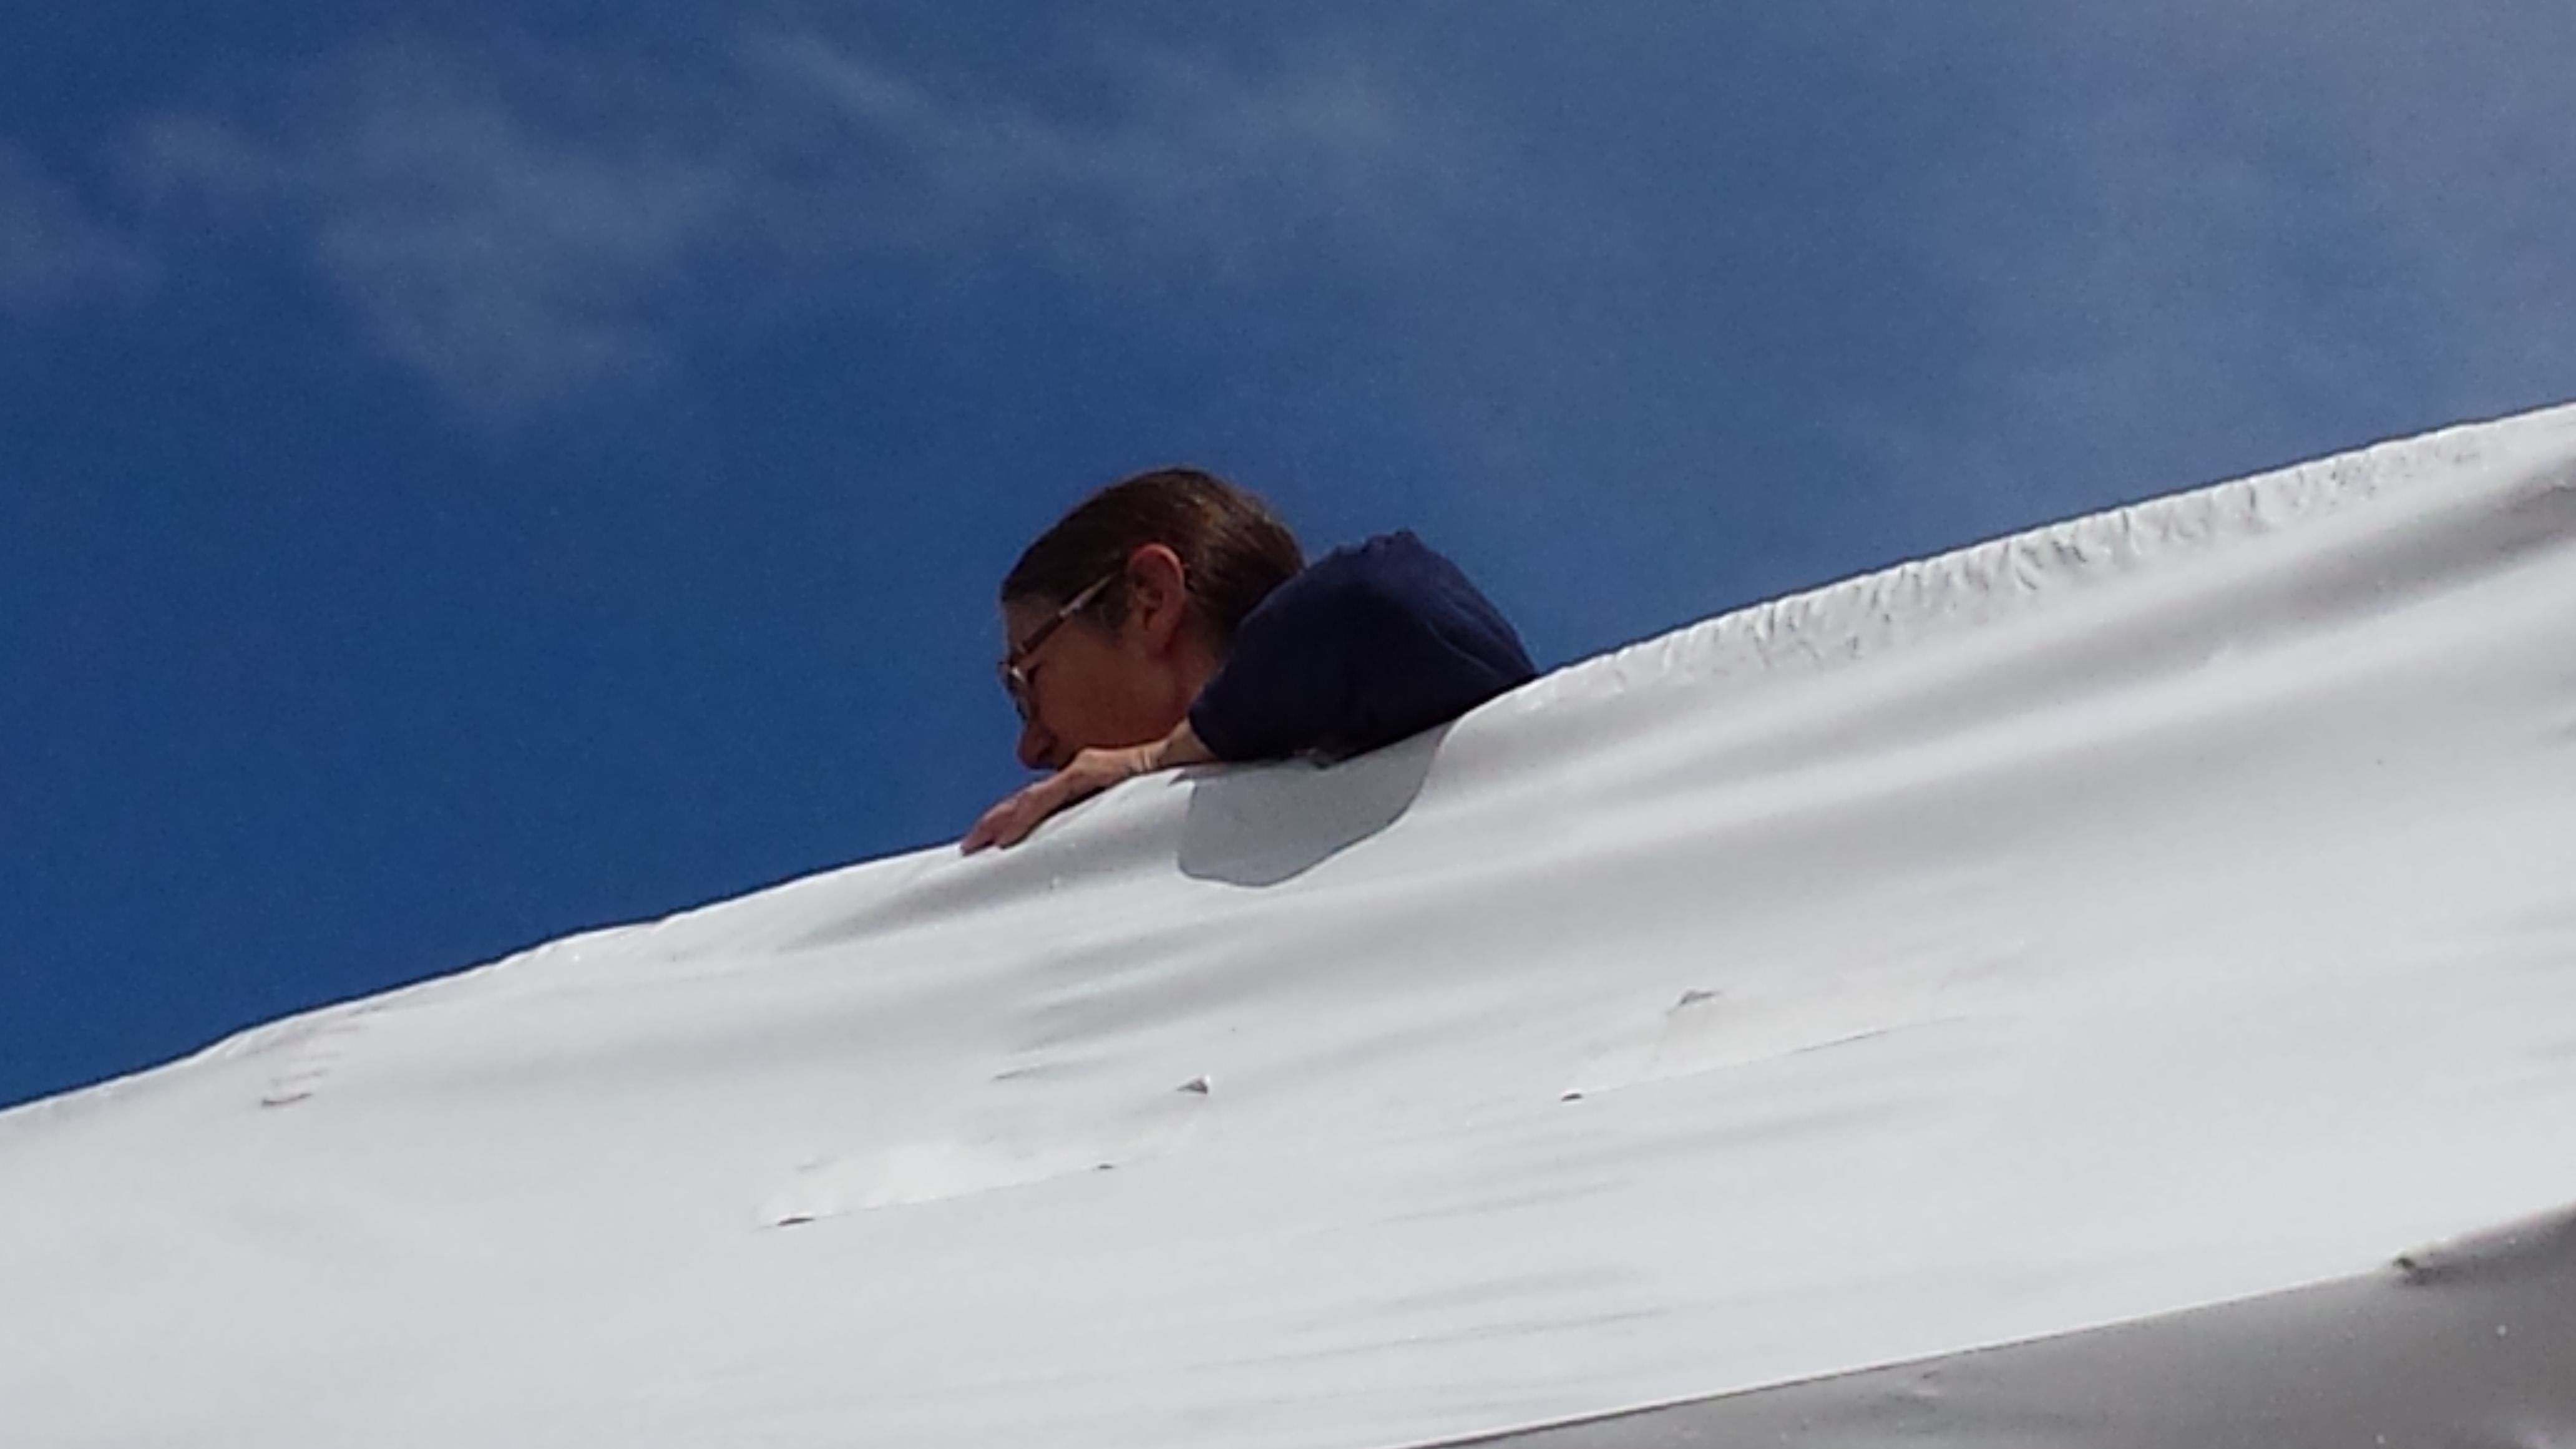
The division of labor has Norm working outside and Elizabeth working inside.  So, equipped with a selection of sandpaper, her trusty DeWalt orbital, pots of varnish or paint plus related accessories... the interior spaces get more home-like every day.  Notably, the interior hull surfaces are painted almond white, large flat areas that are finished "bright" get satin varnish and the trim is finished with gloss varnish.  The natural wood looks old, almost antique in some parts.  It all looks better with a fresh coat of varnish.

20160729_161506.jpg
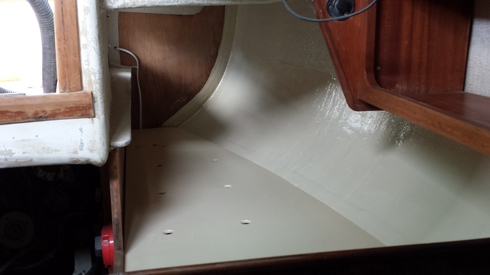
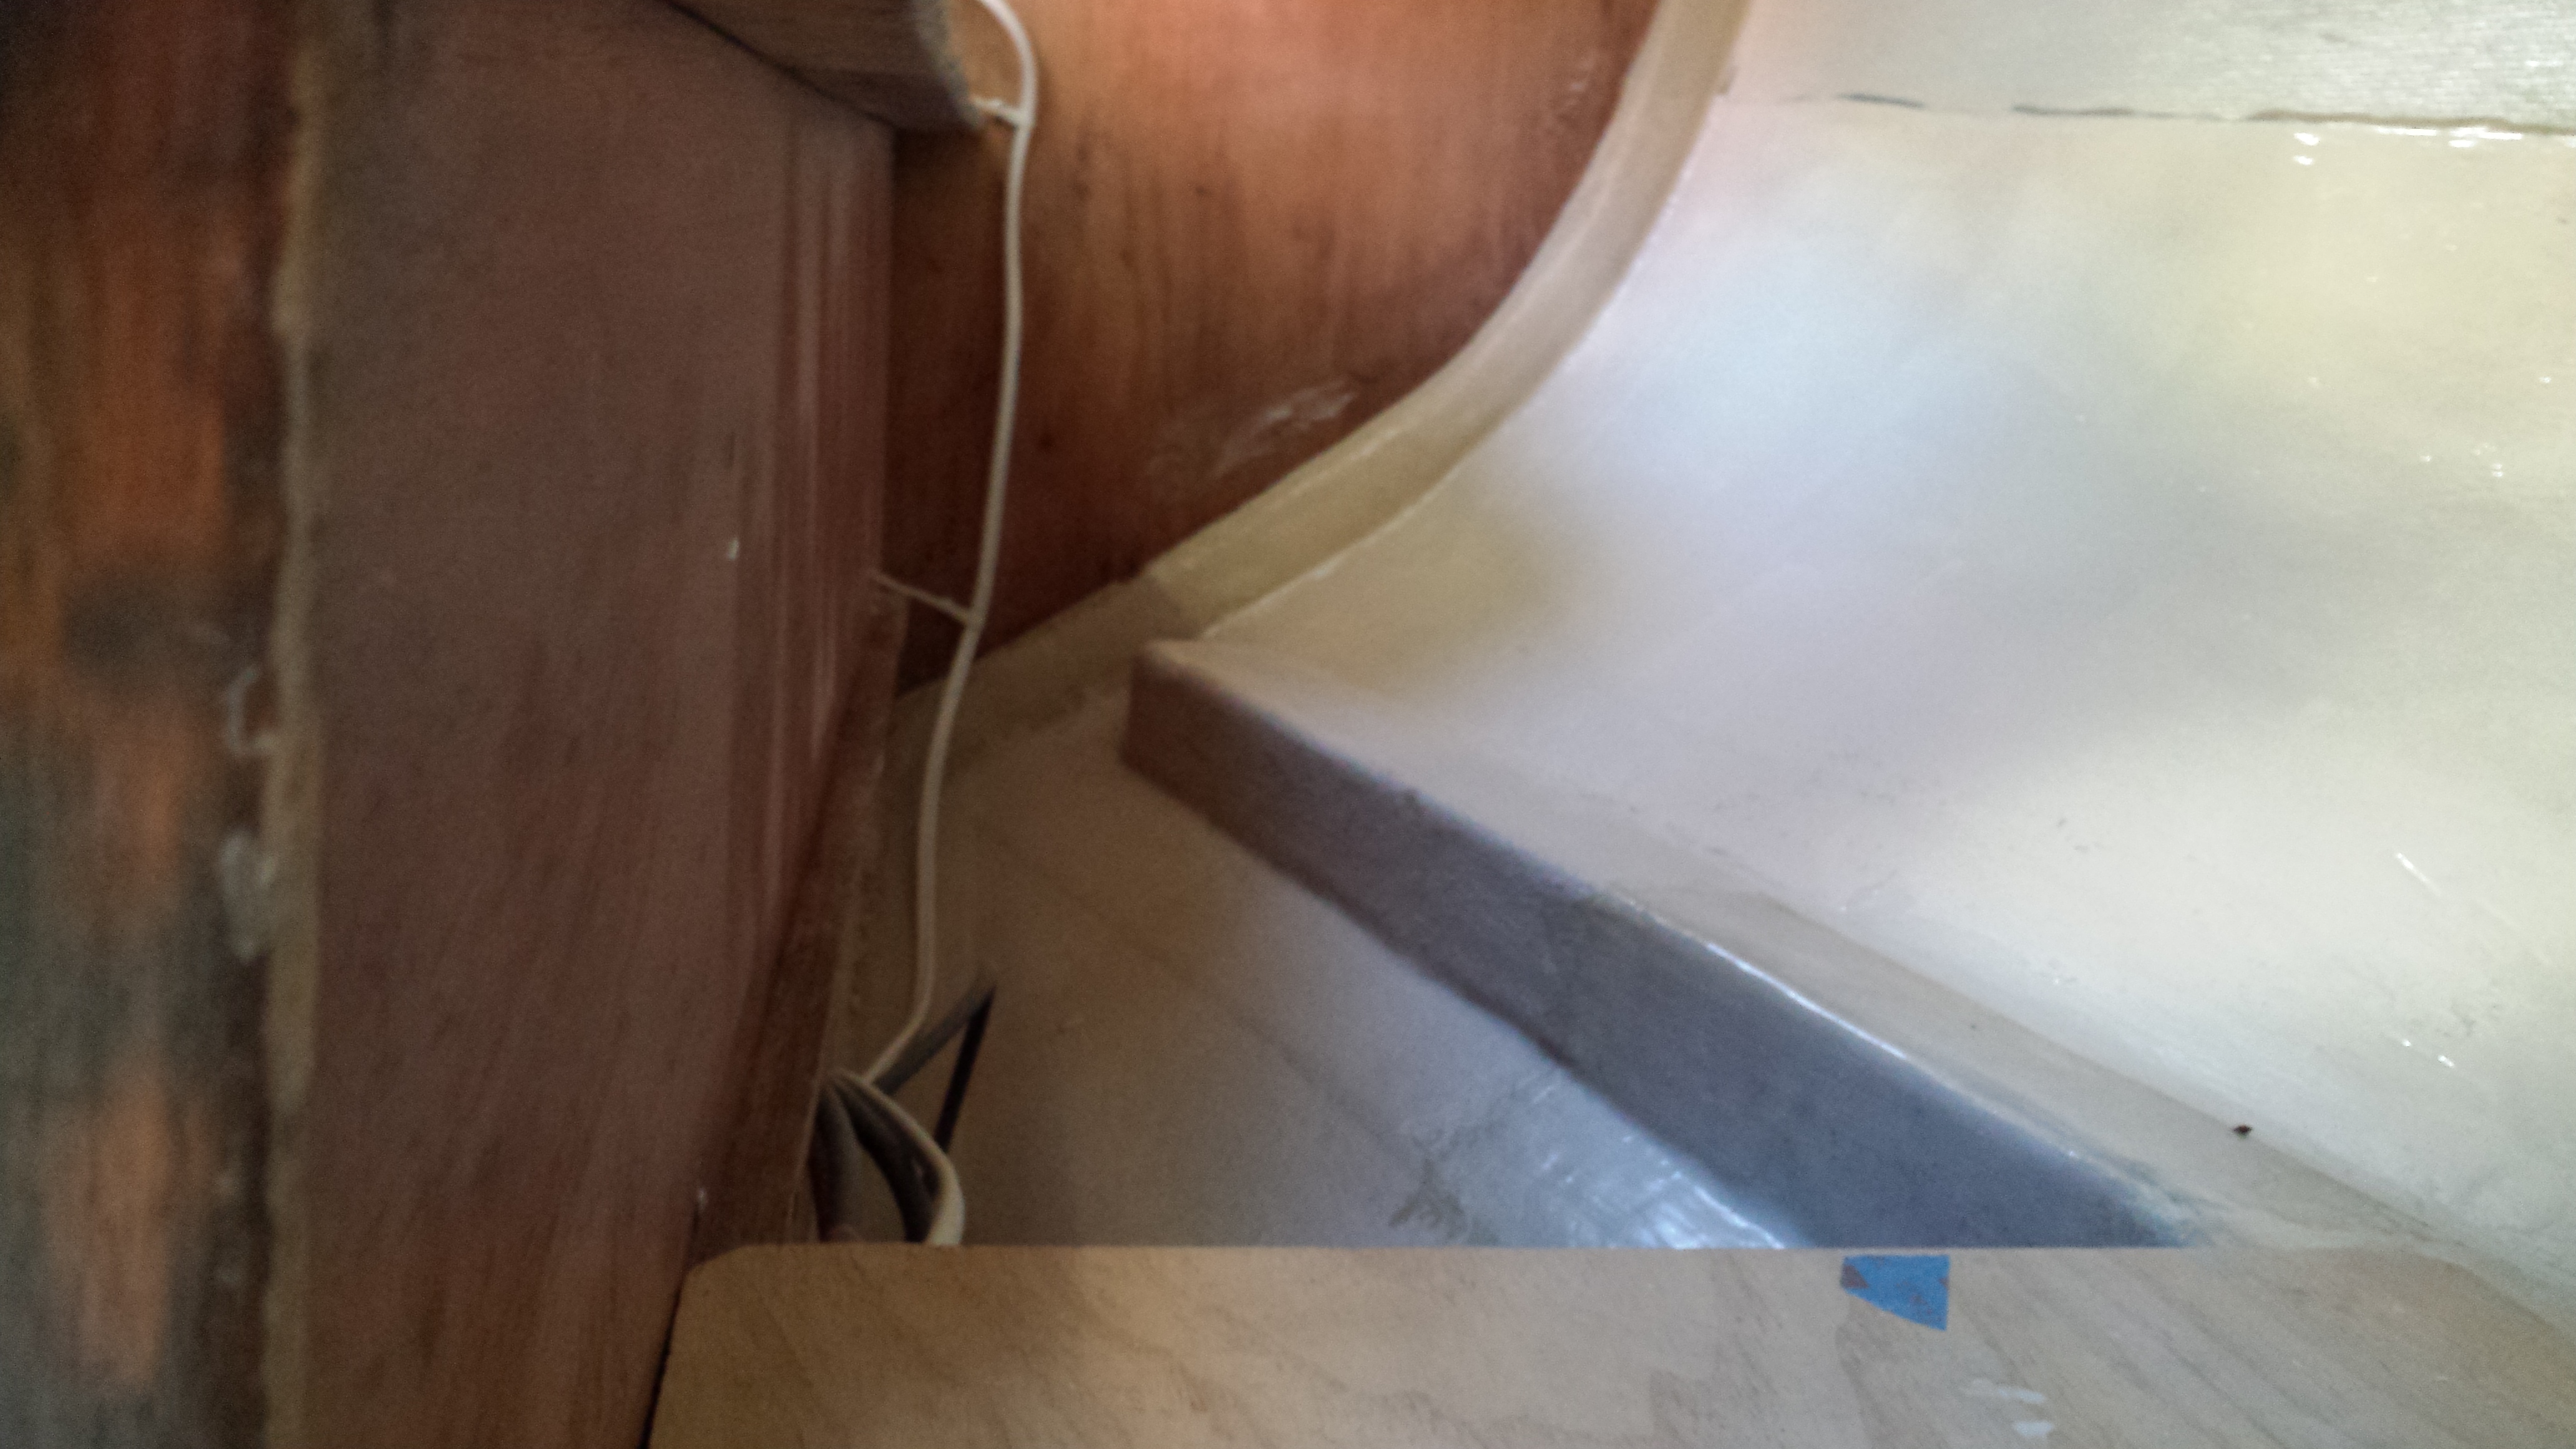
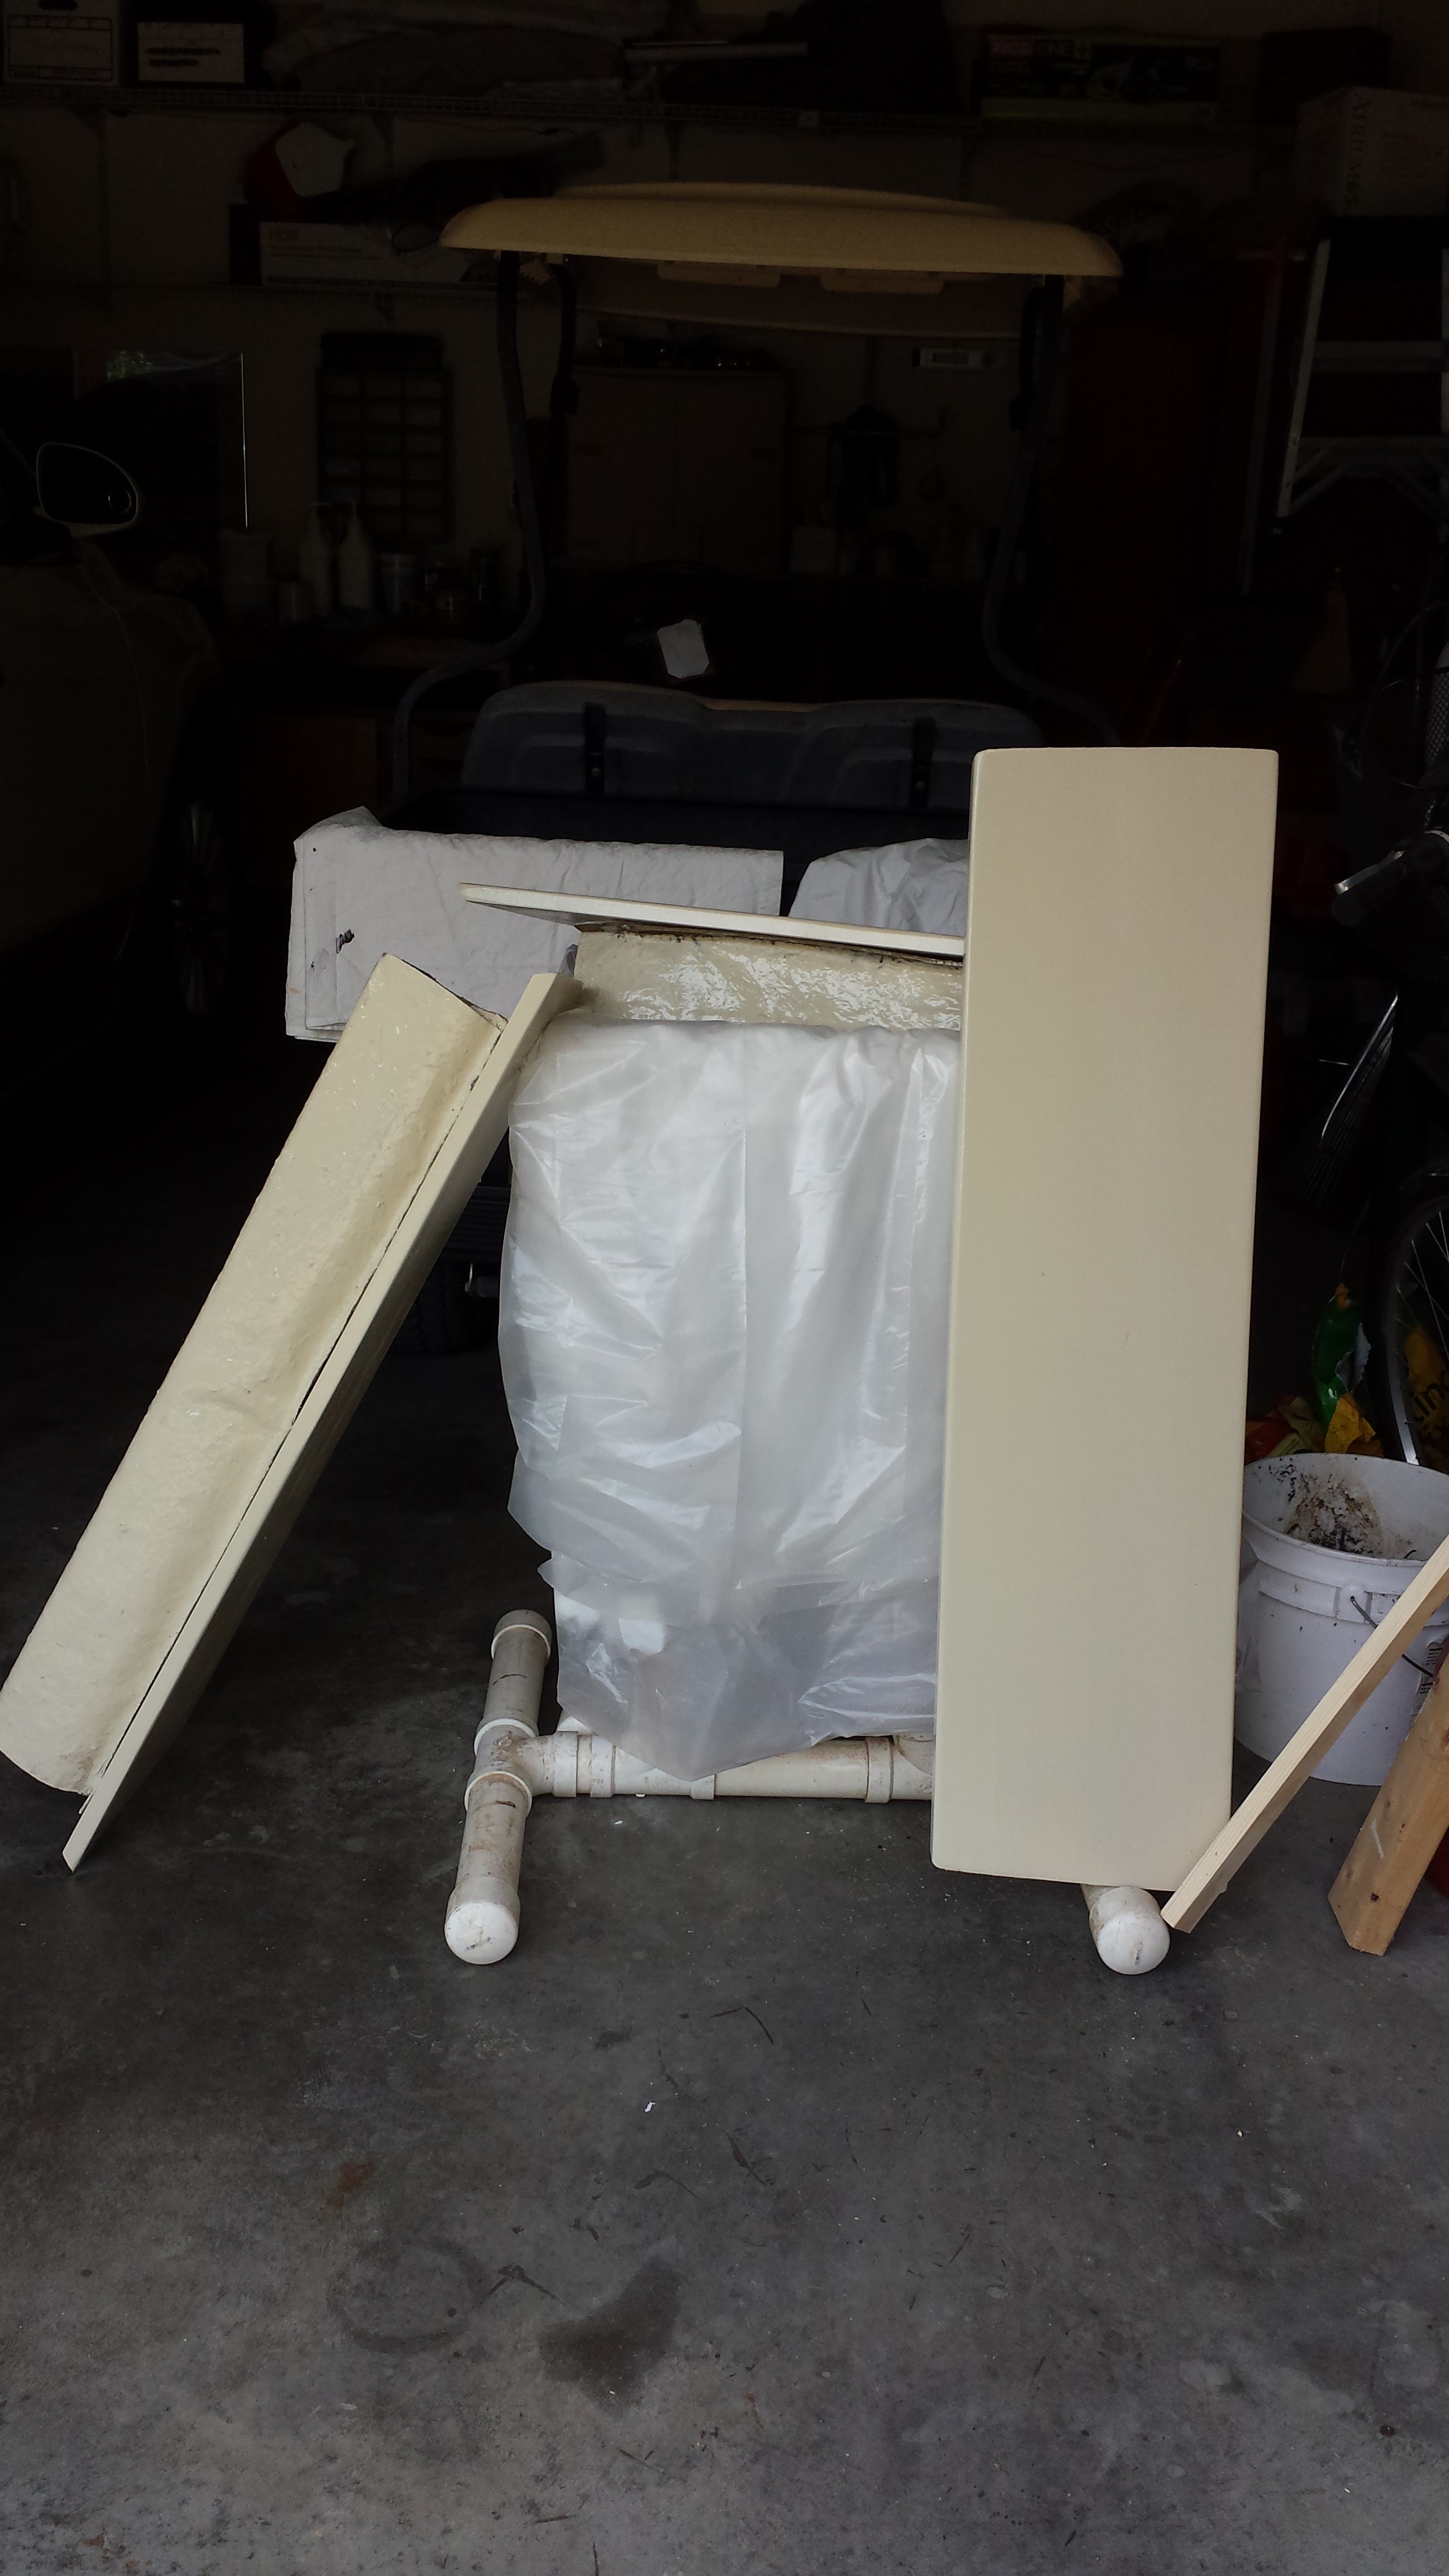
Above:  In progress, the berth board and interior hull are both almond white.  The varnish is awaiting a clear day for coating.  The boat came to us with dark varnished berth boards looking worse for the wear.  The hull was a mix of gloss white and some sort of off-white wallpaper.

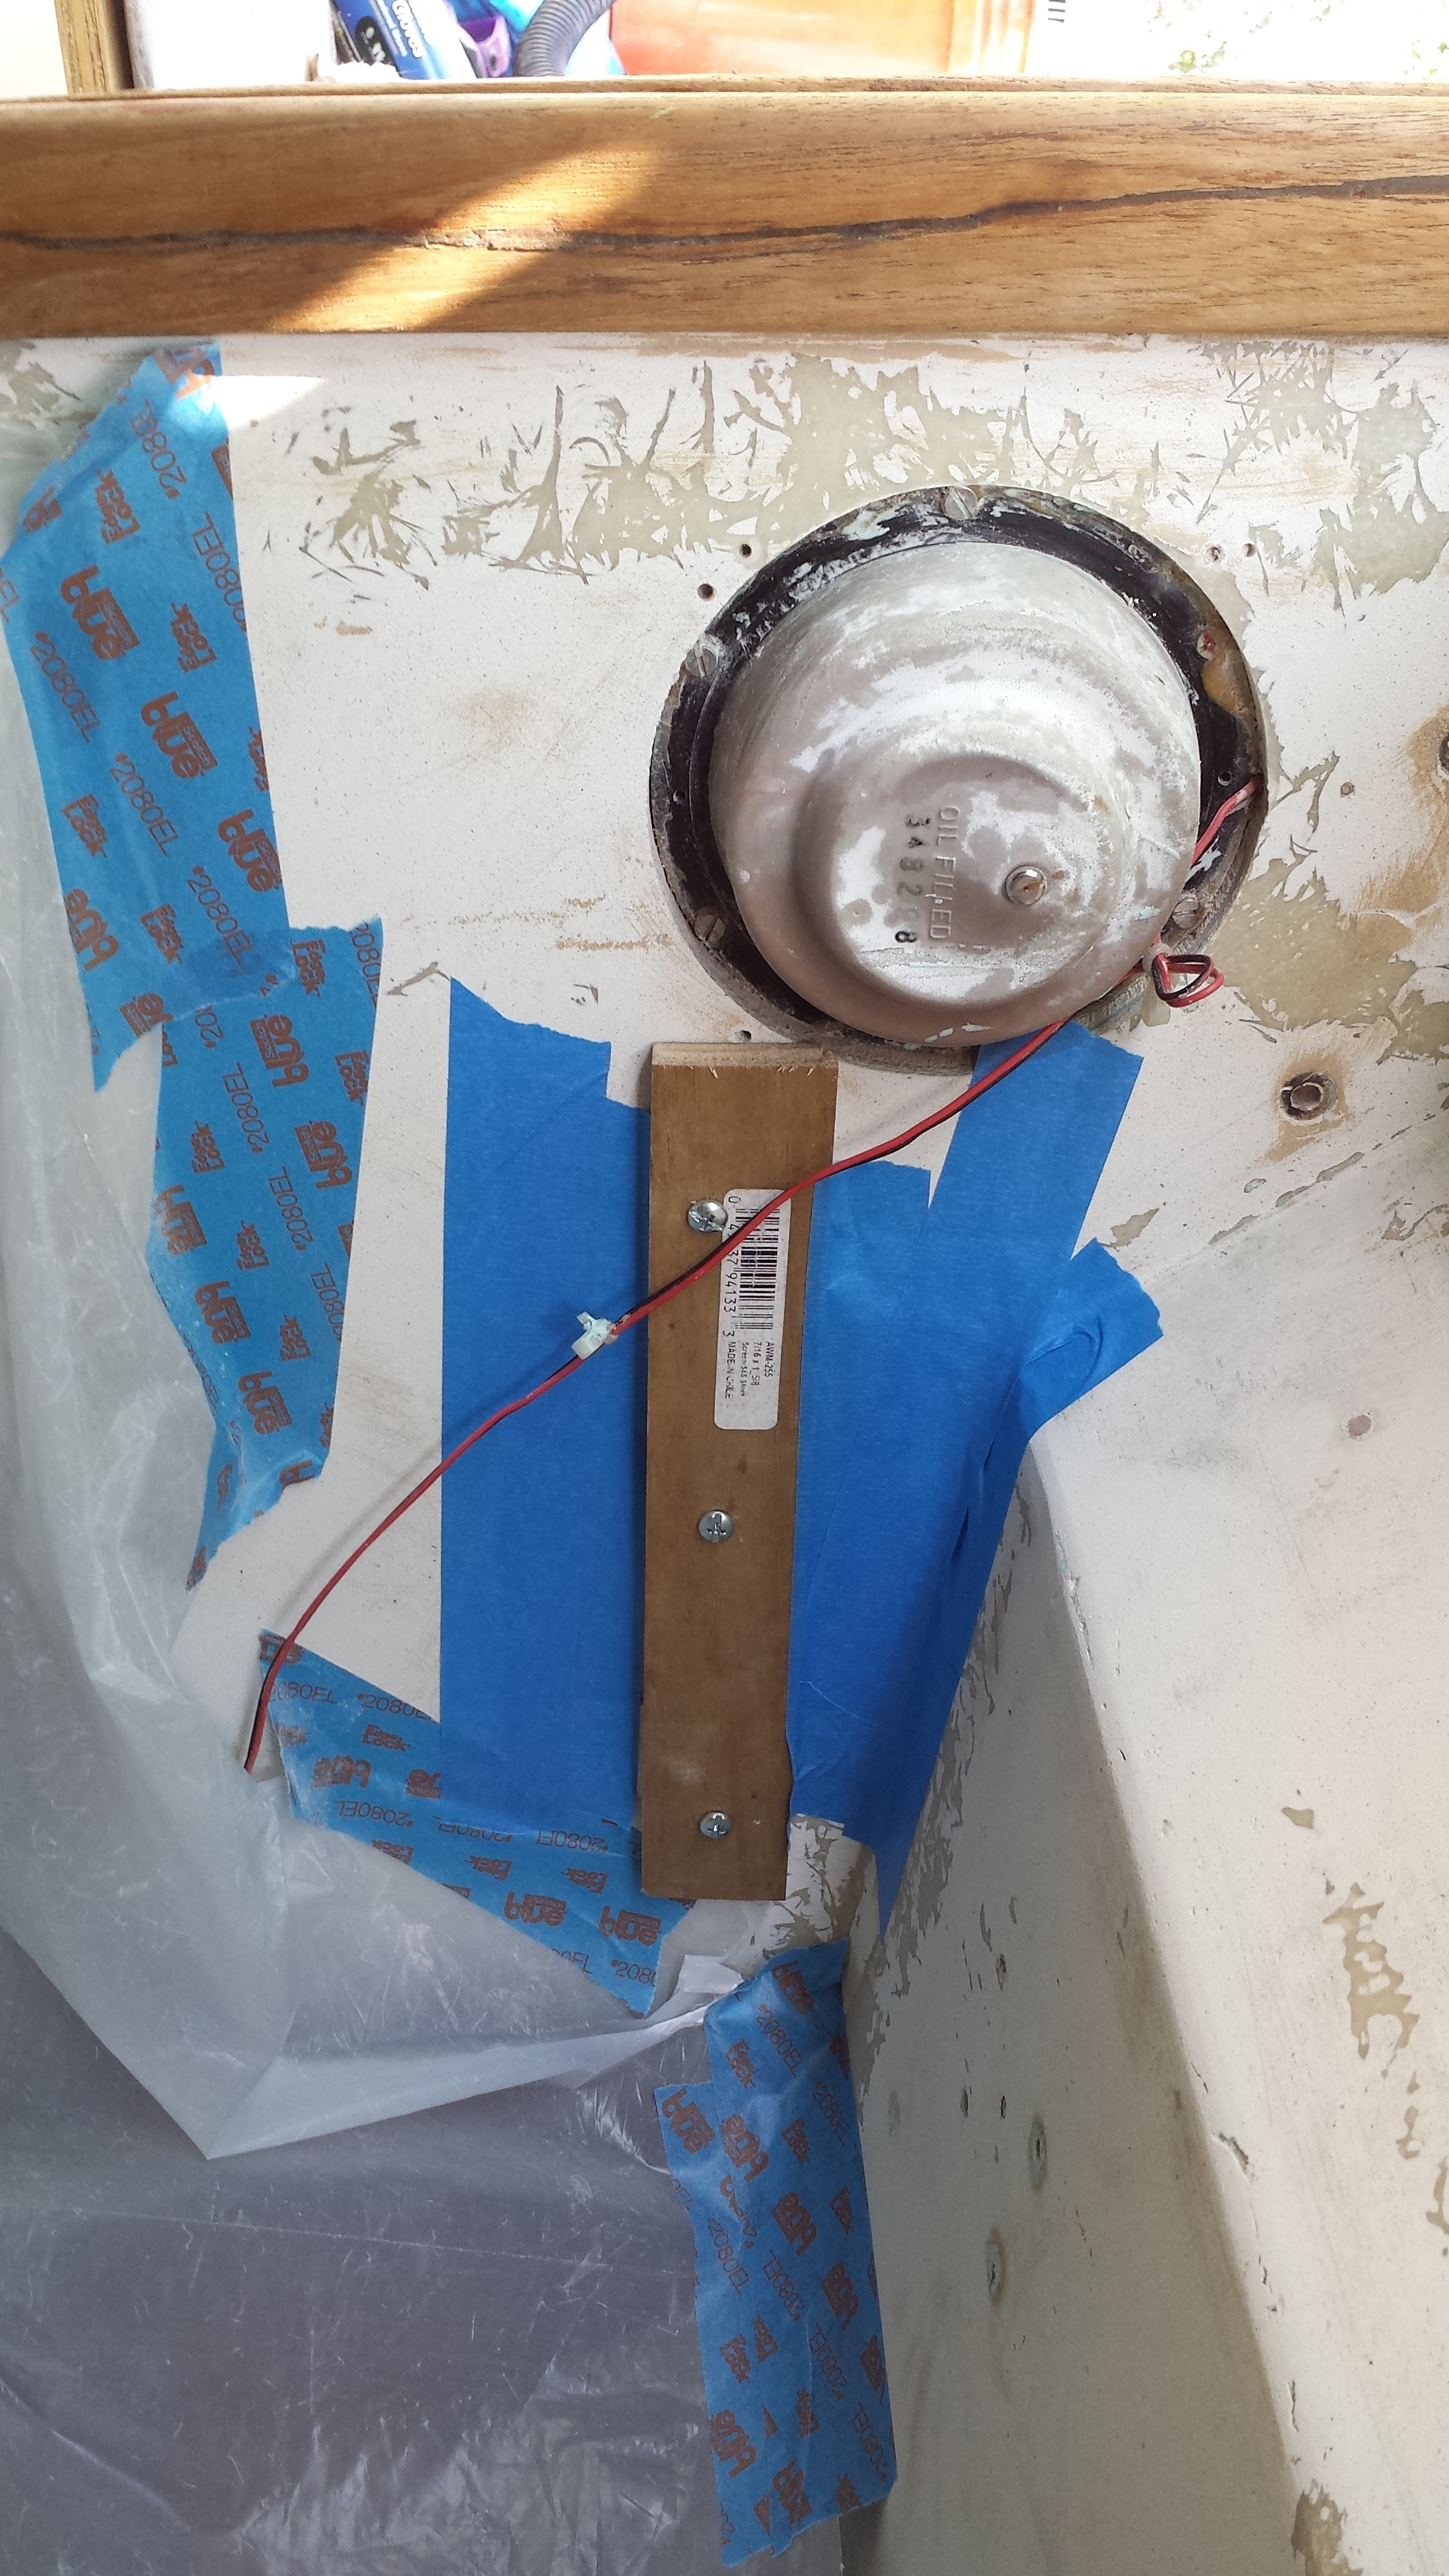
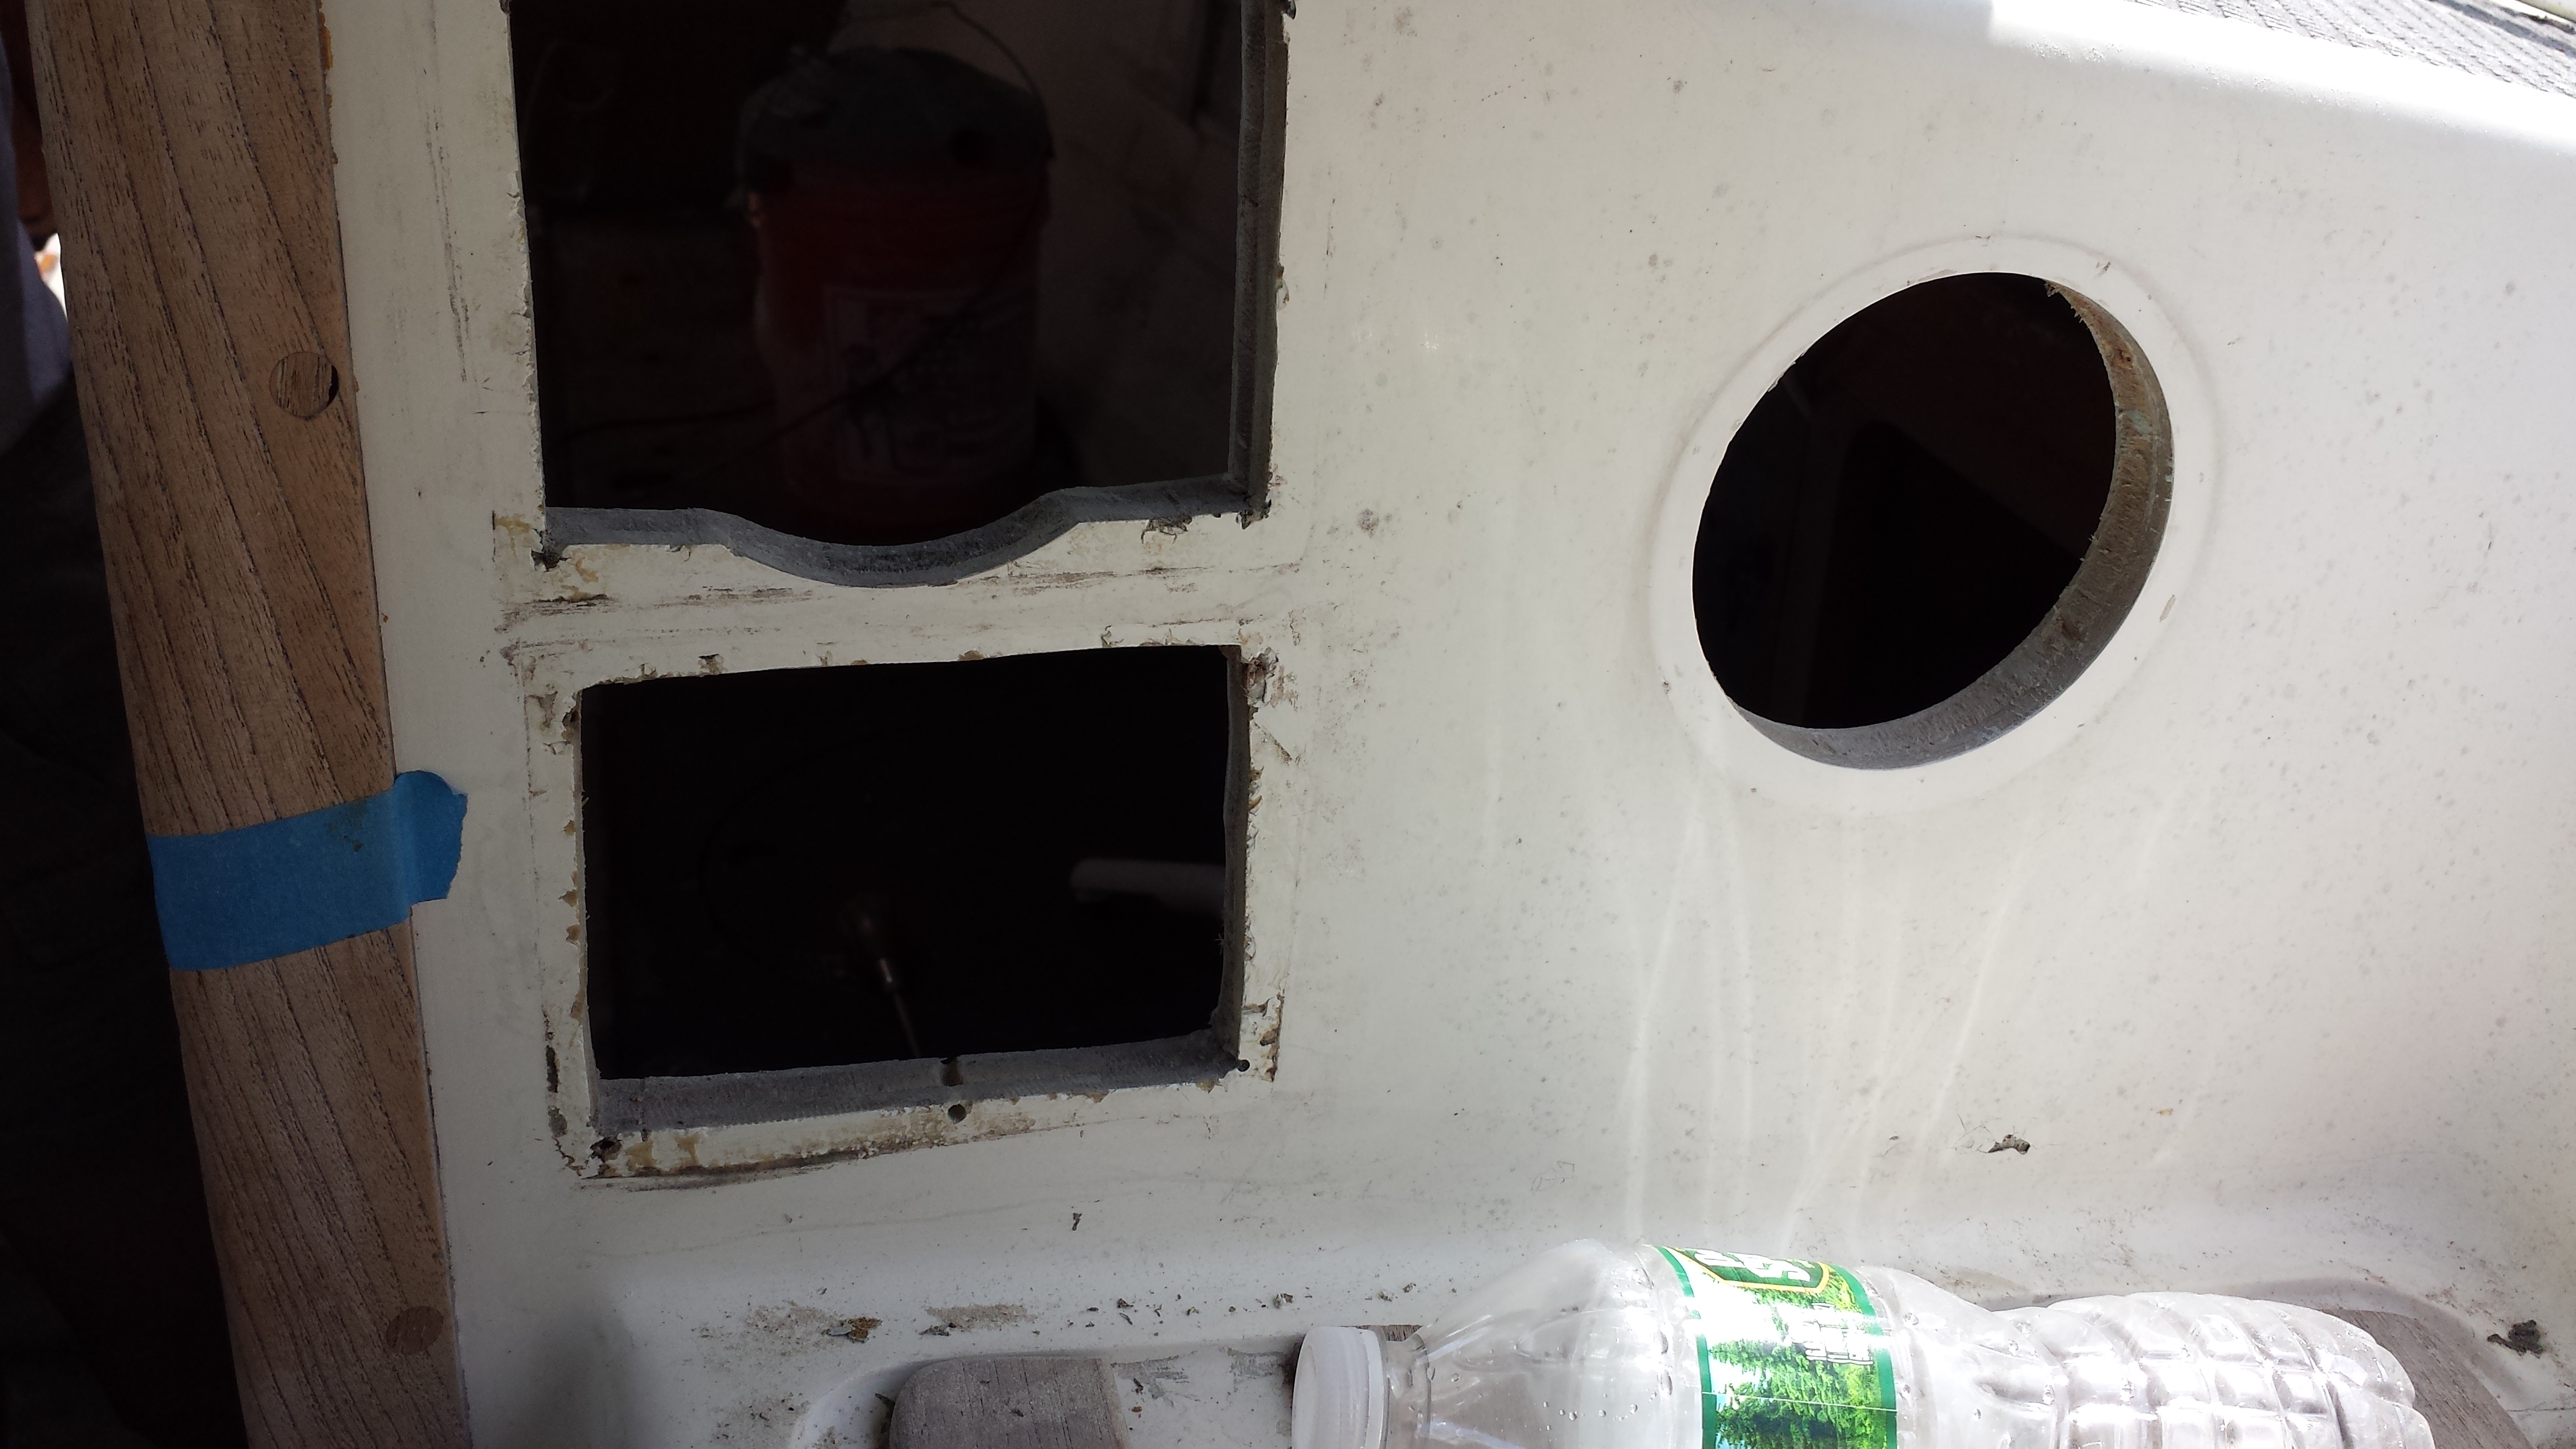
A few years ago, we removed the honkin' big speakers and that let in a lot of light to the foot of the quarter berth.  The five inch holes were covered with clear plexi.  This step has made the space less of a cavern.

20160729_161434.jpg
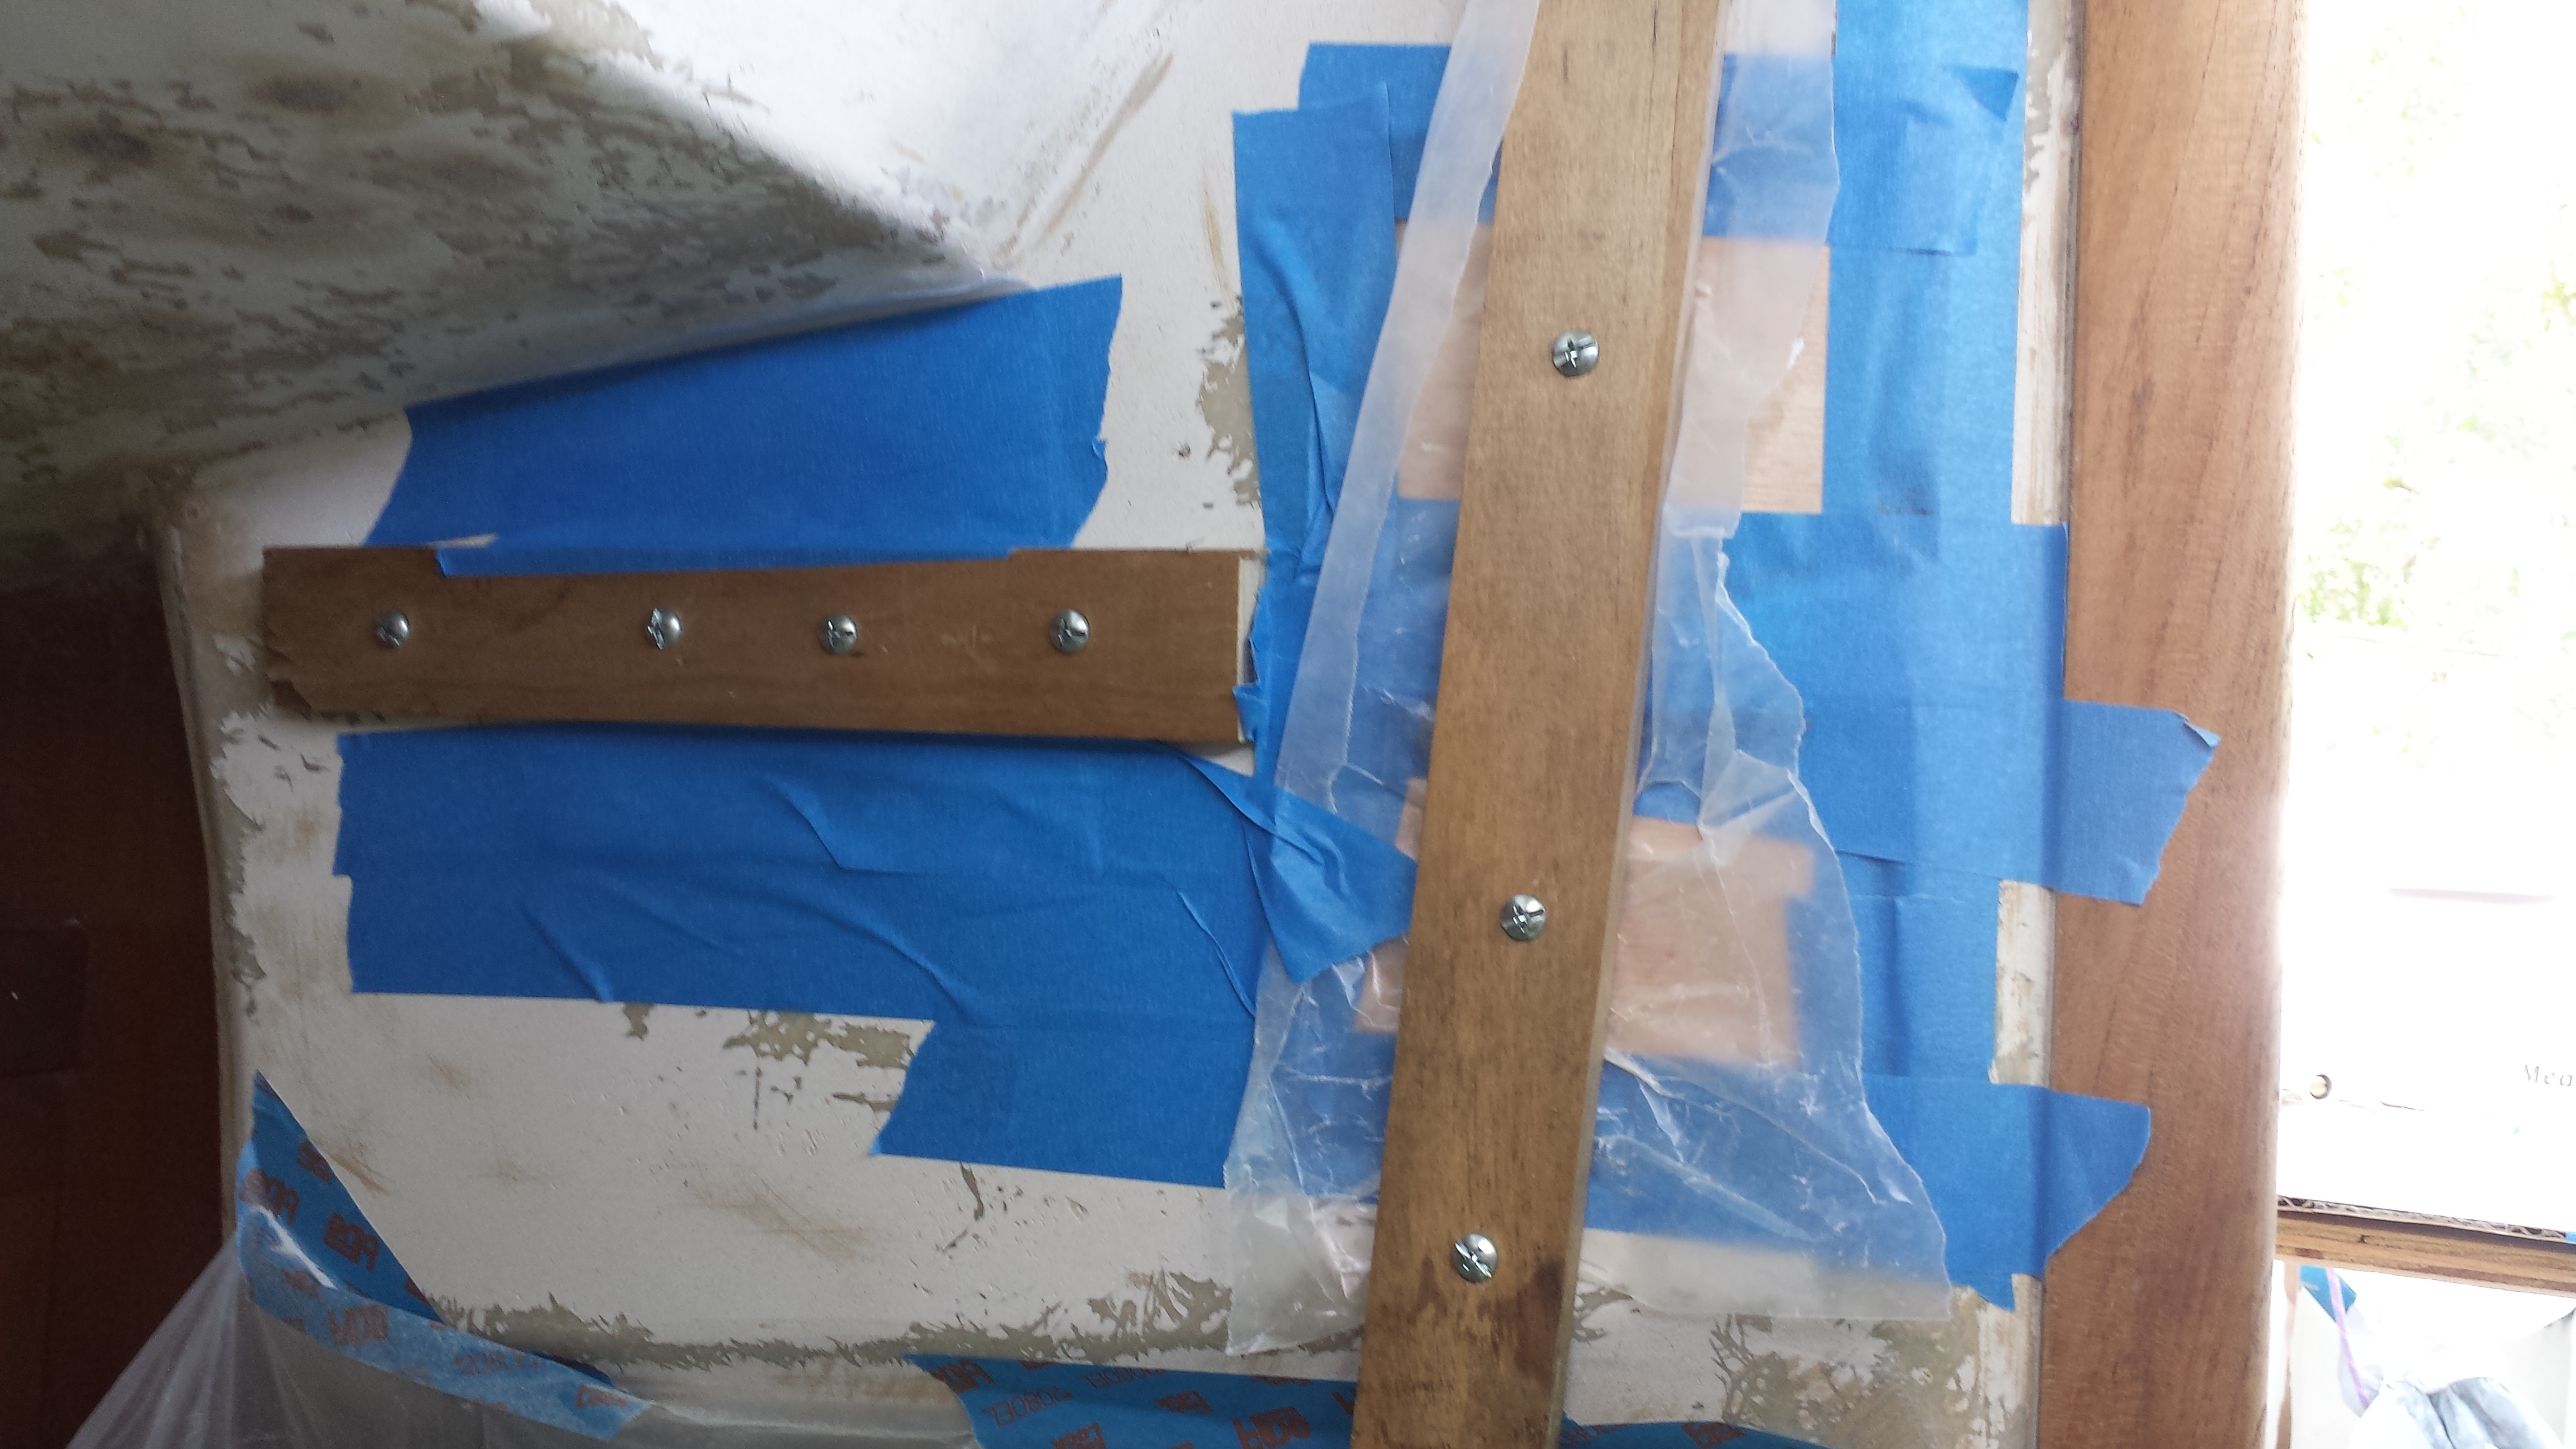
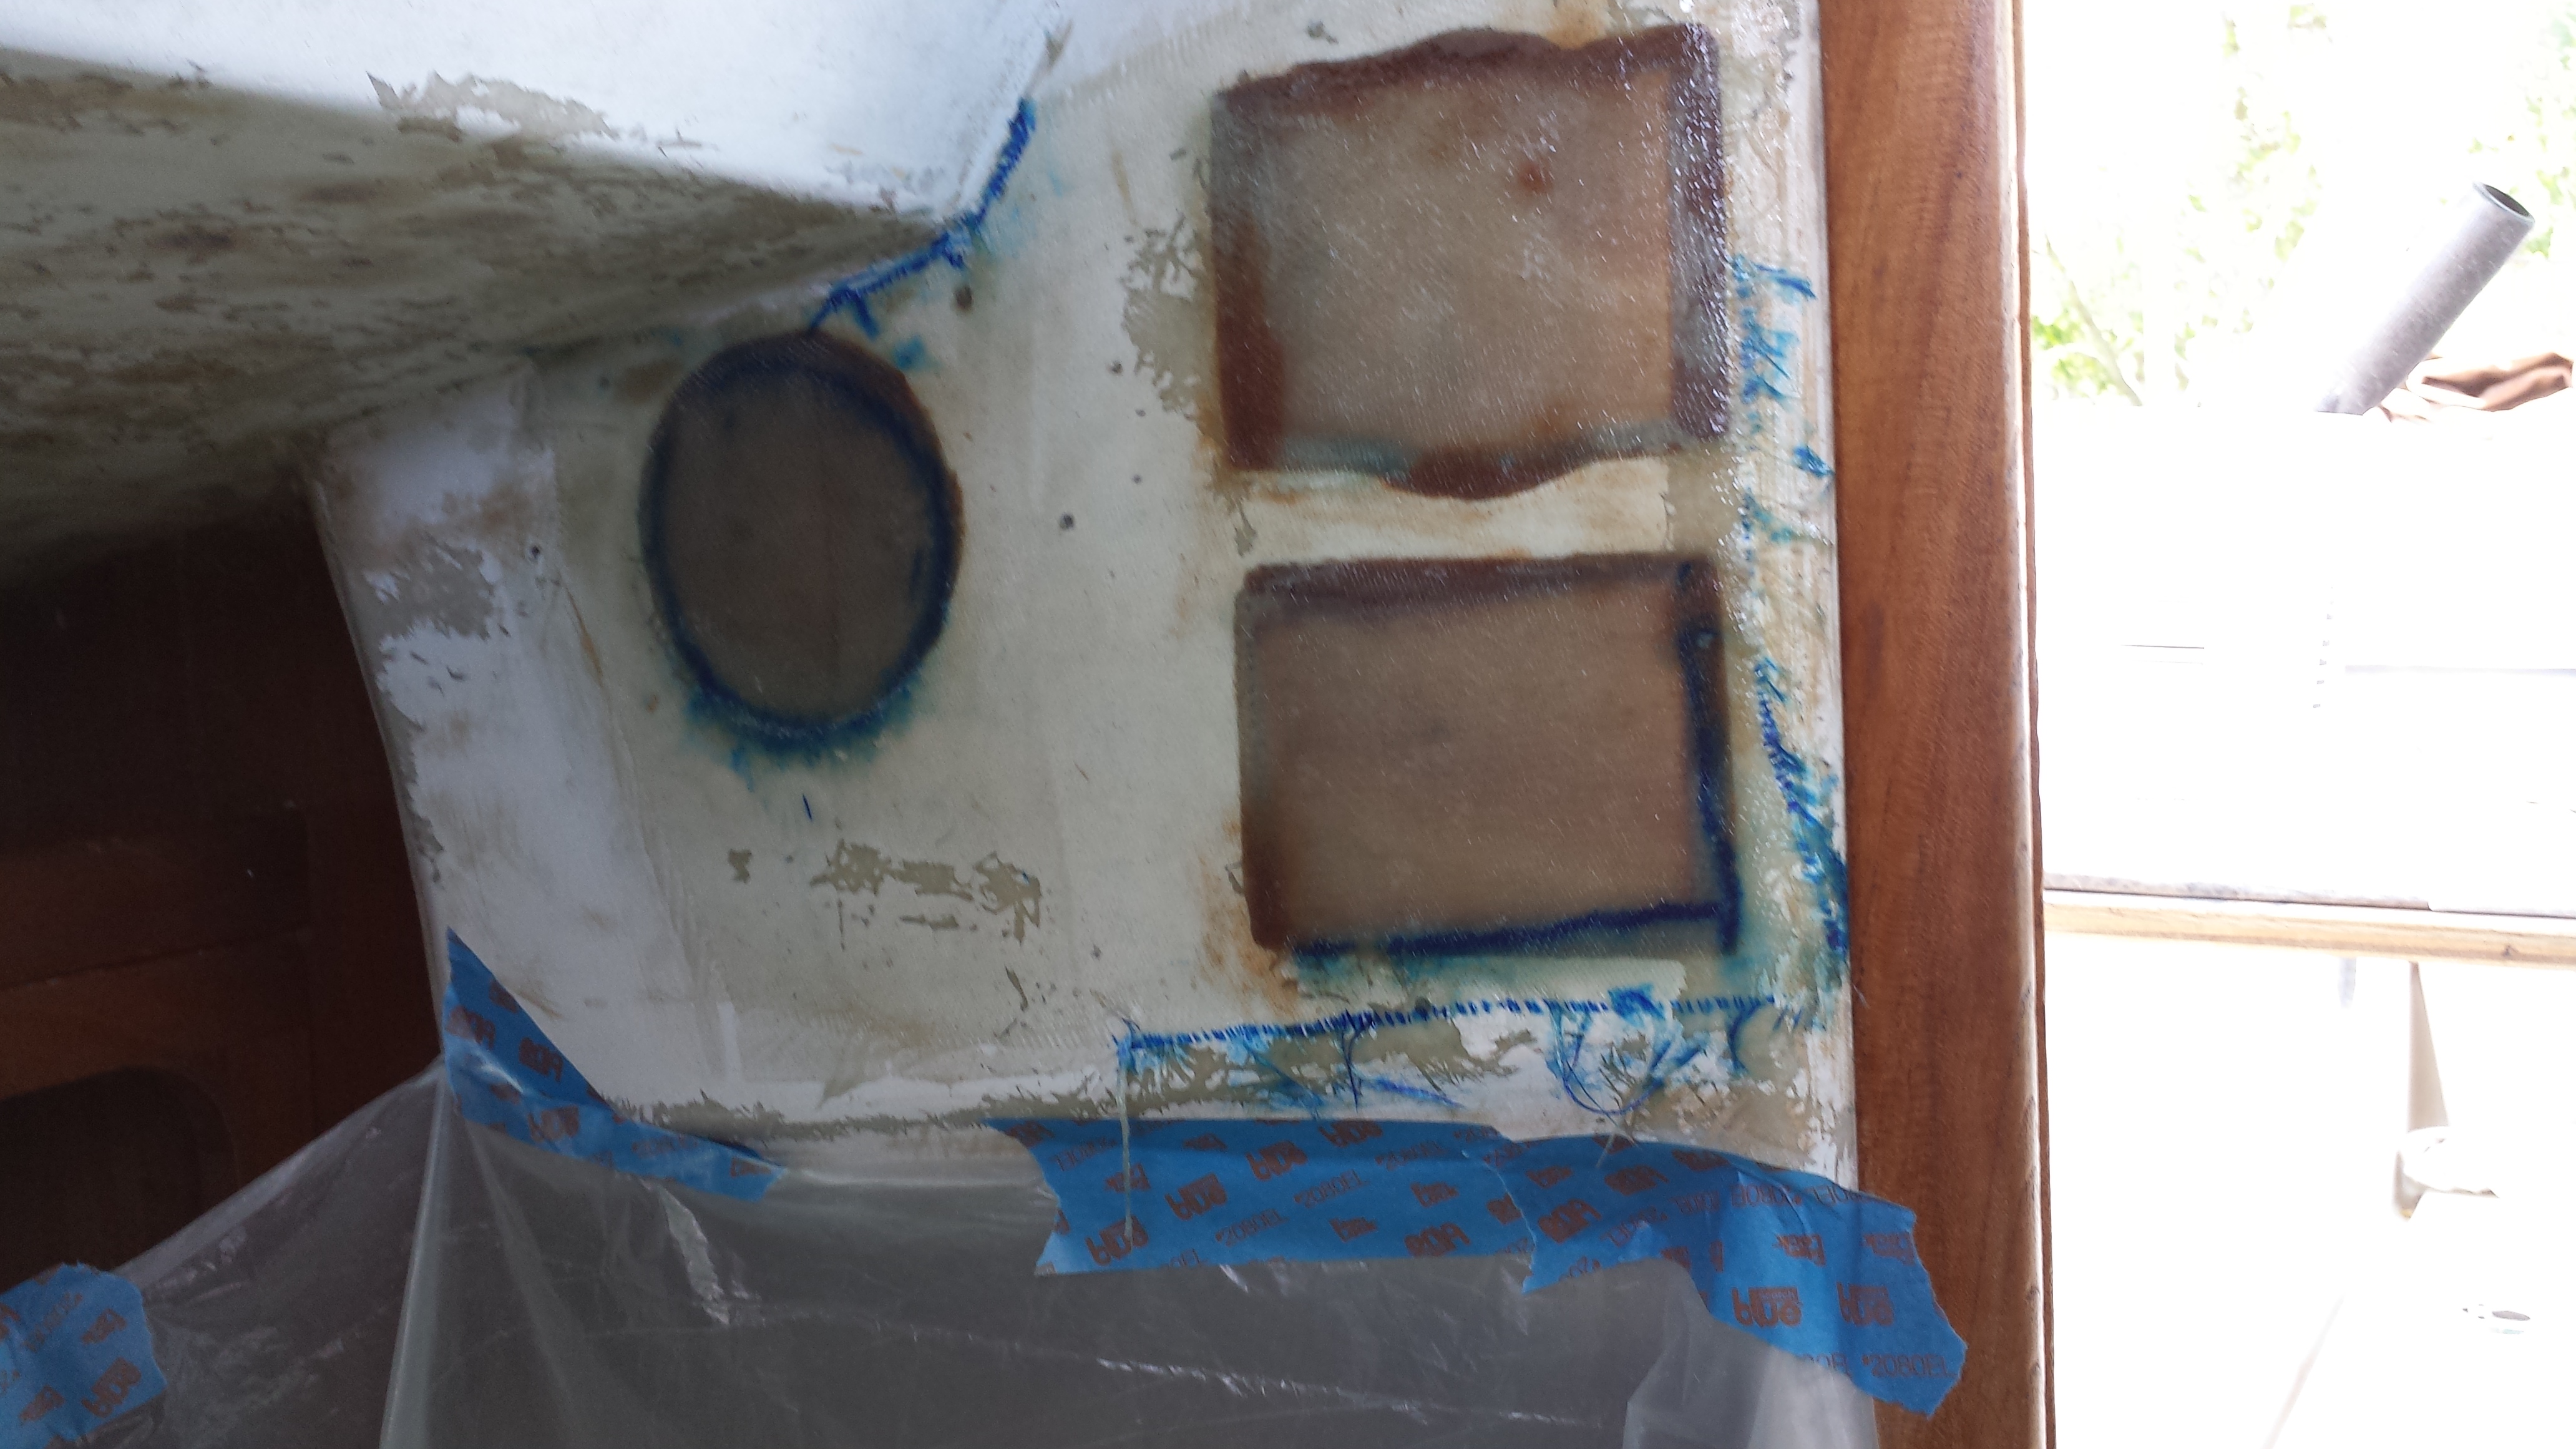
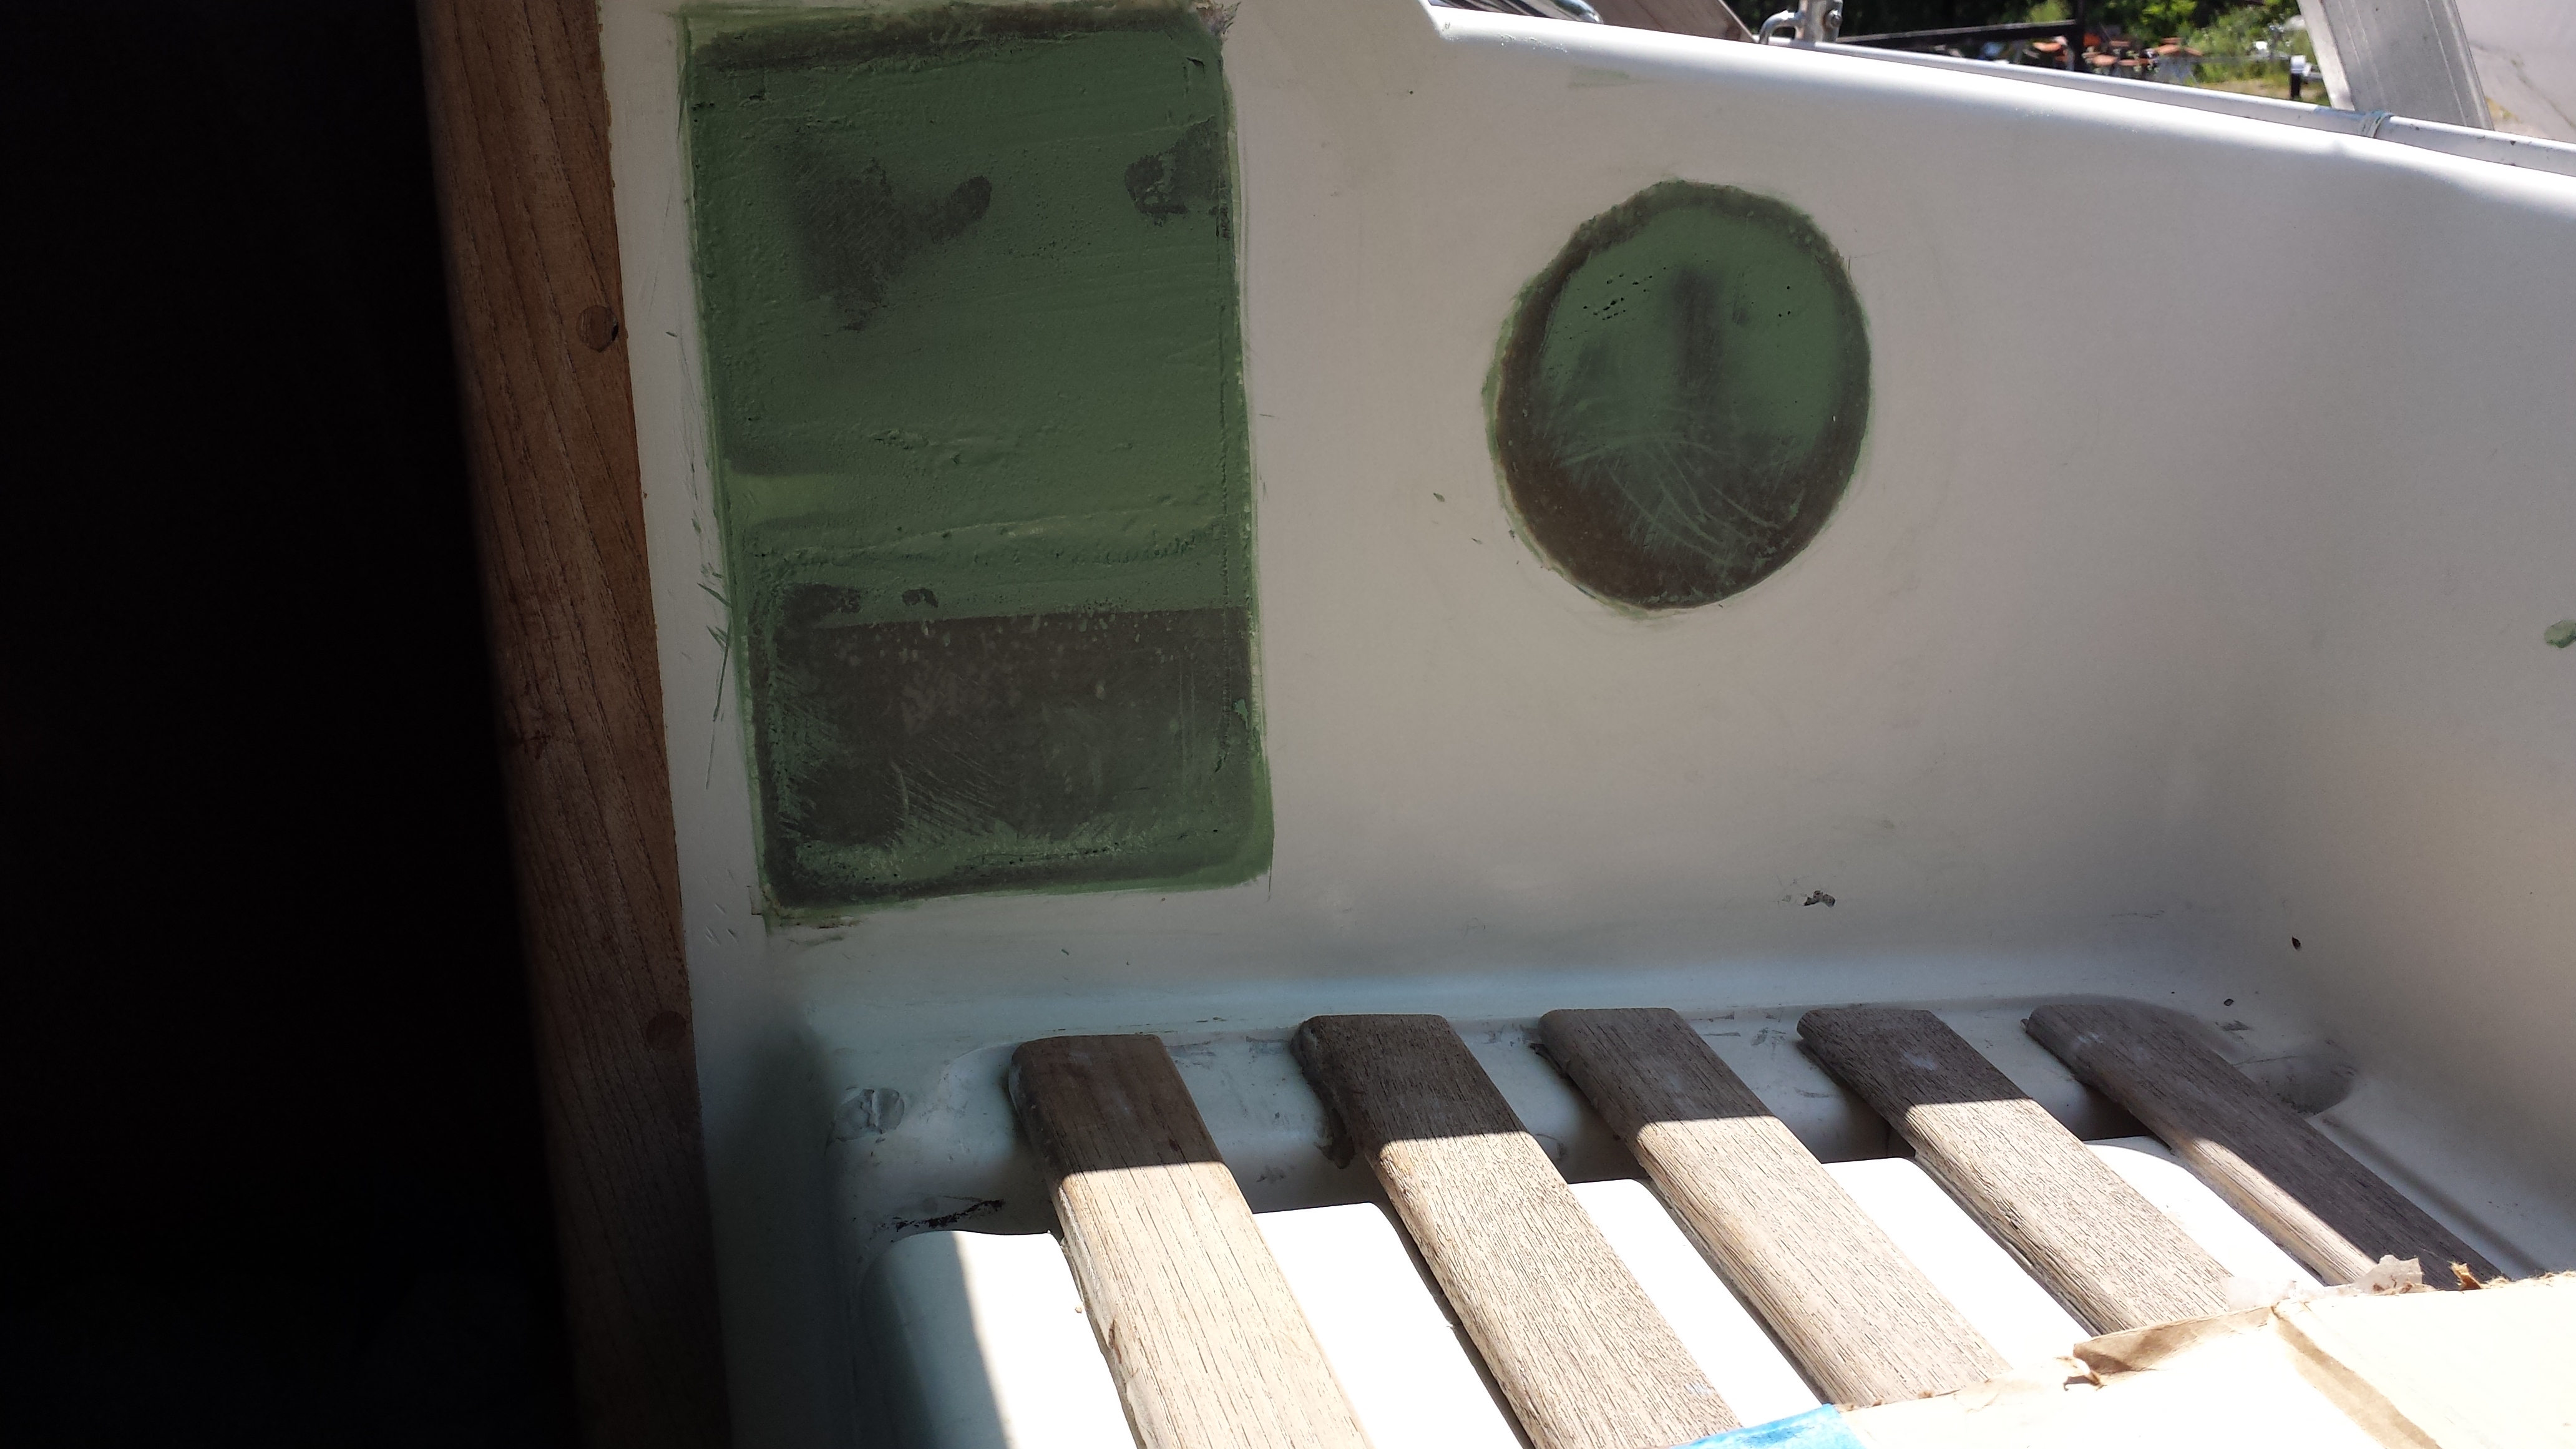
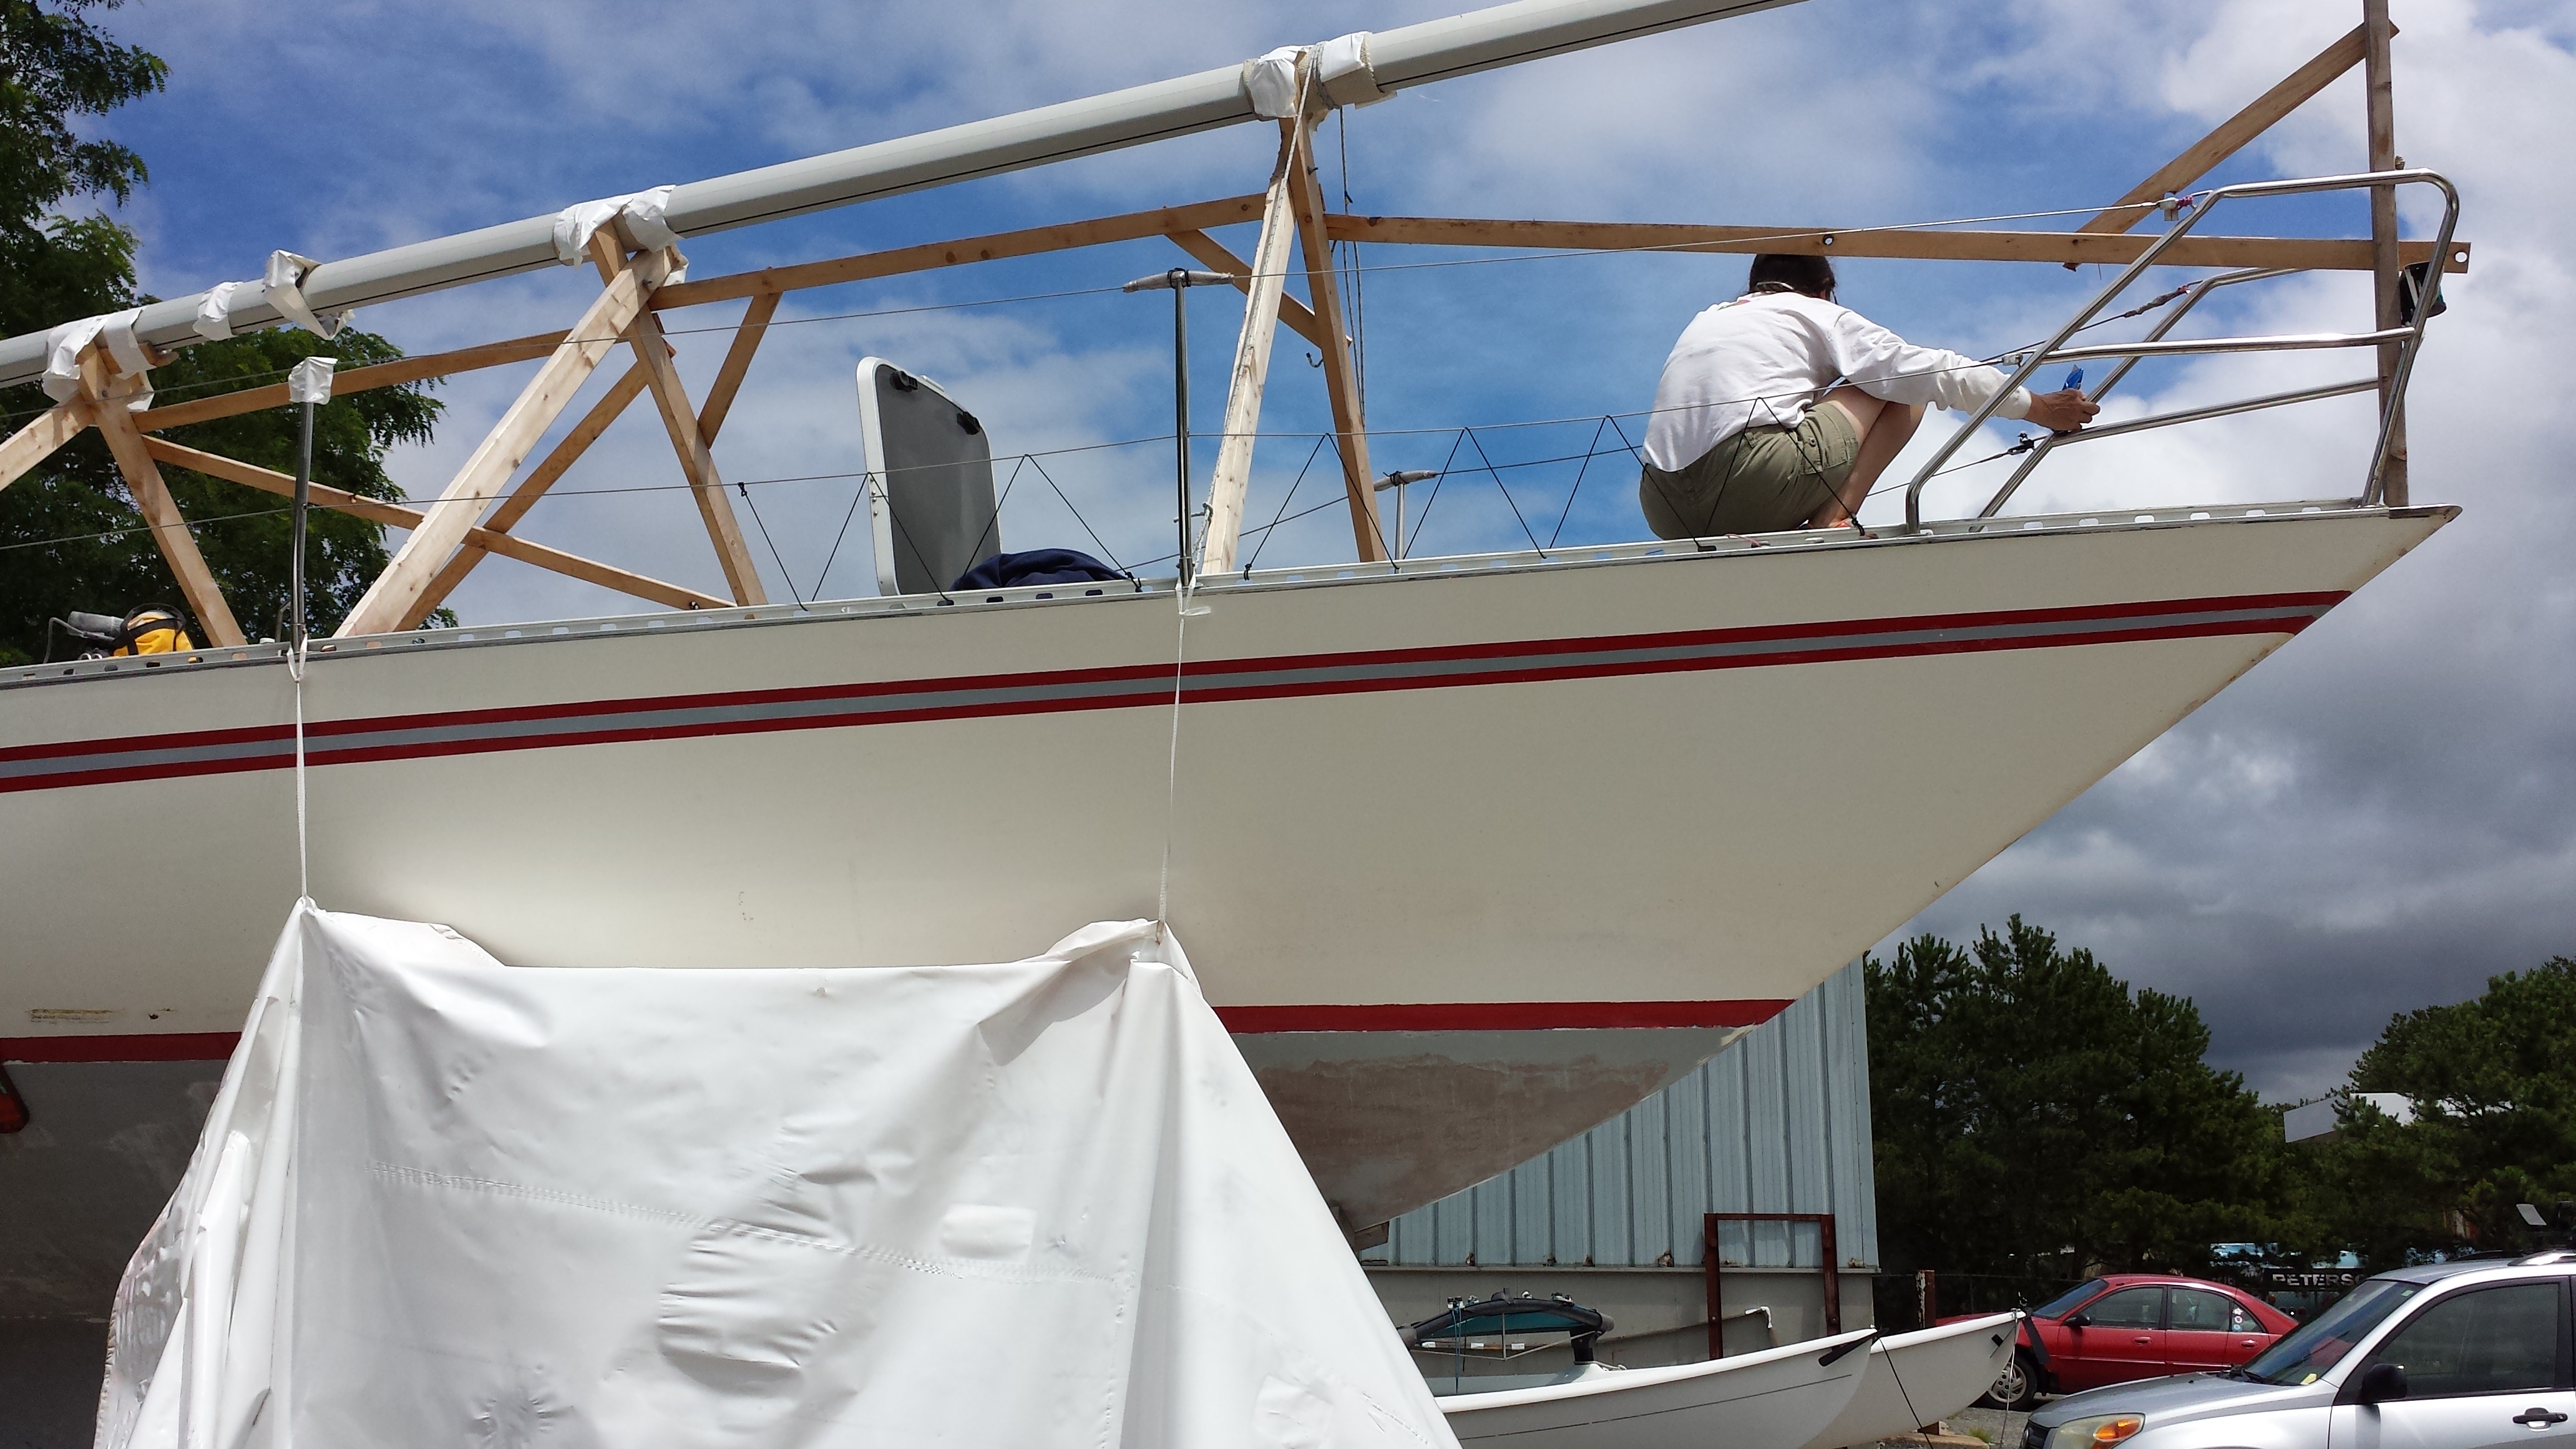
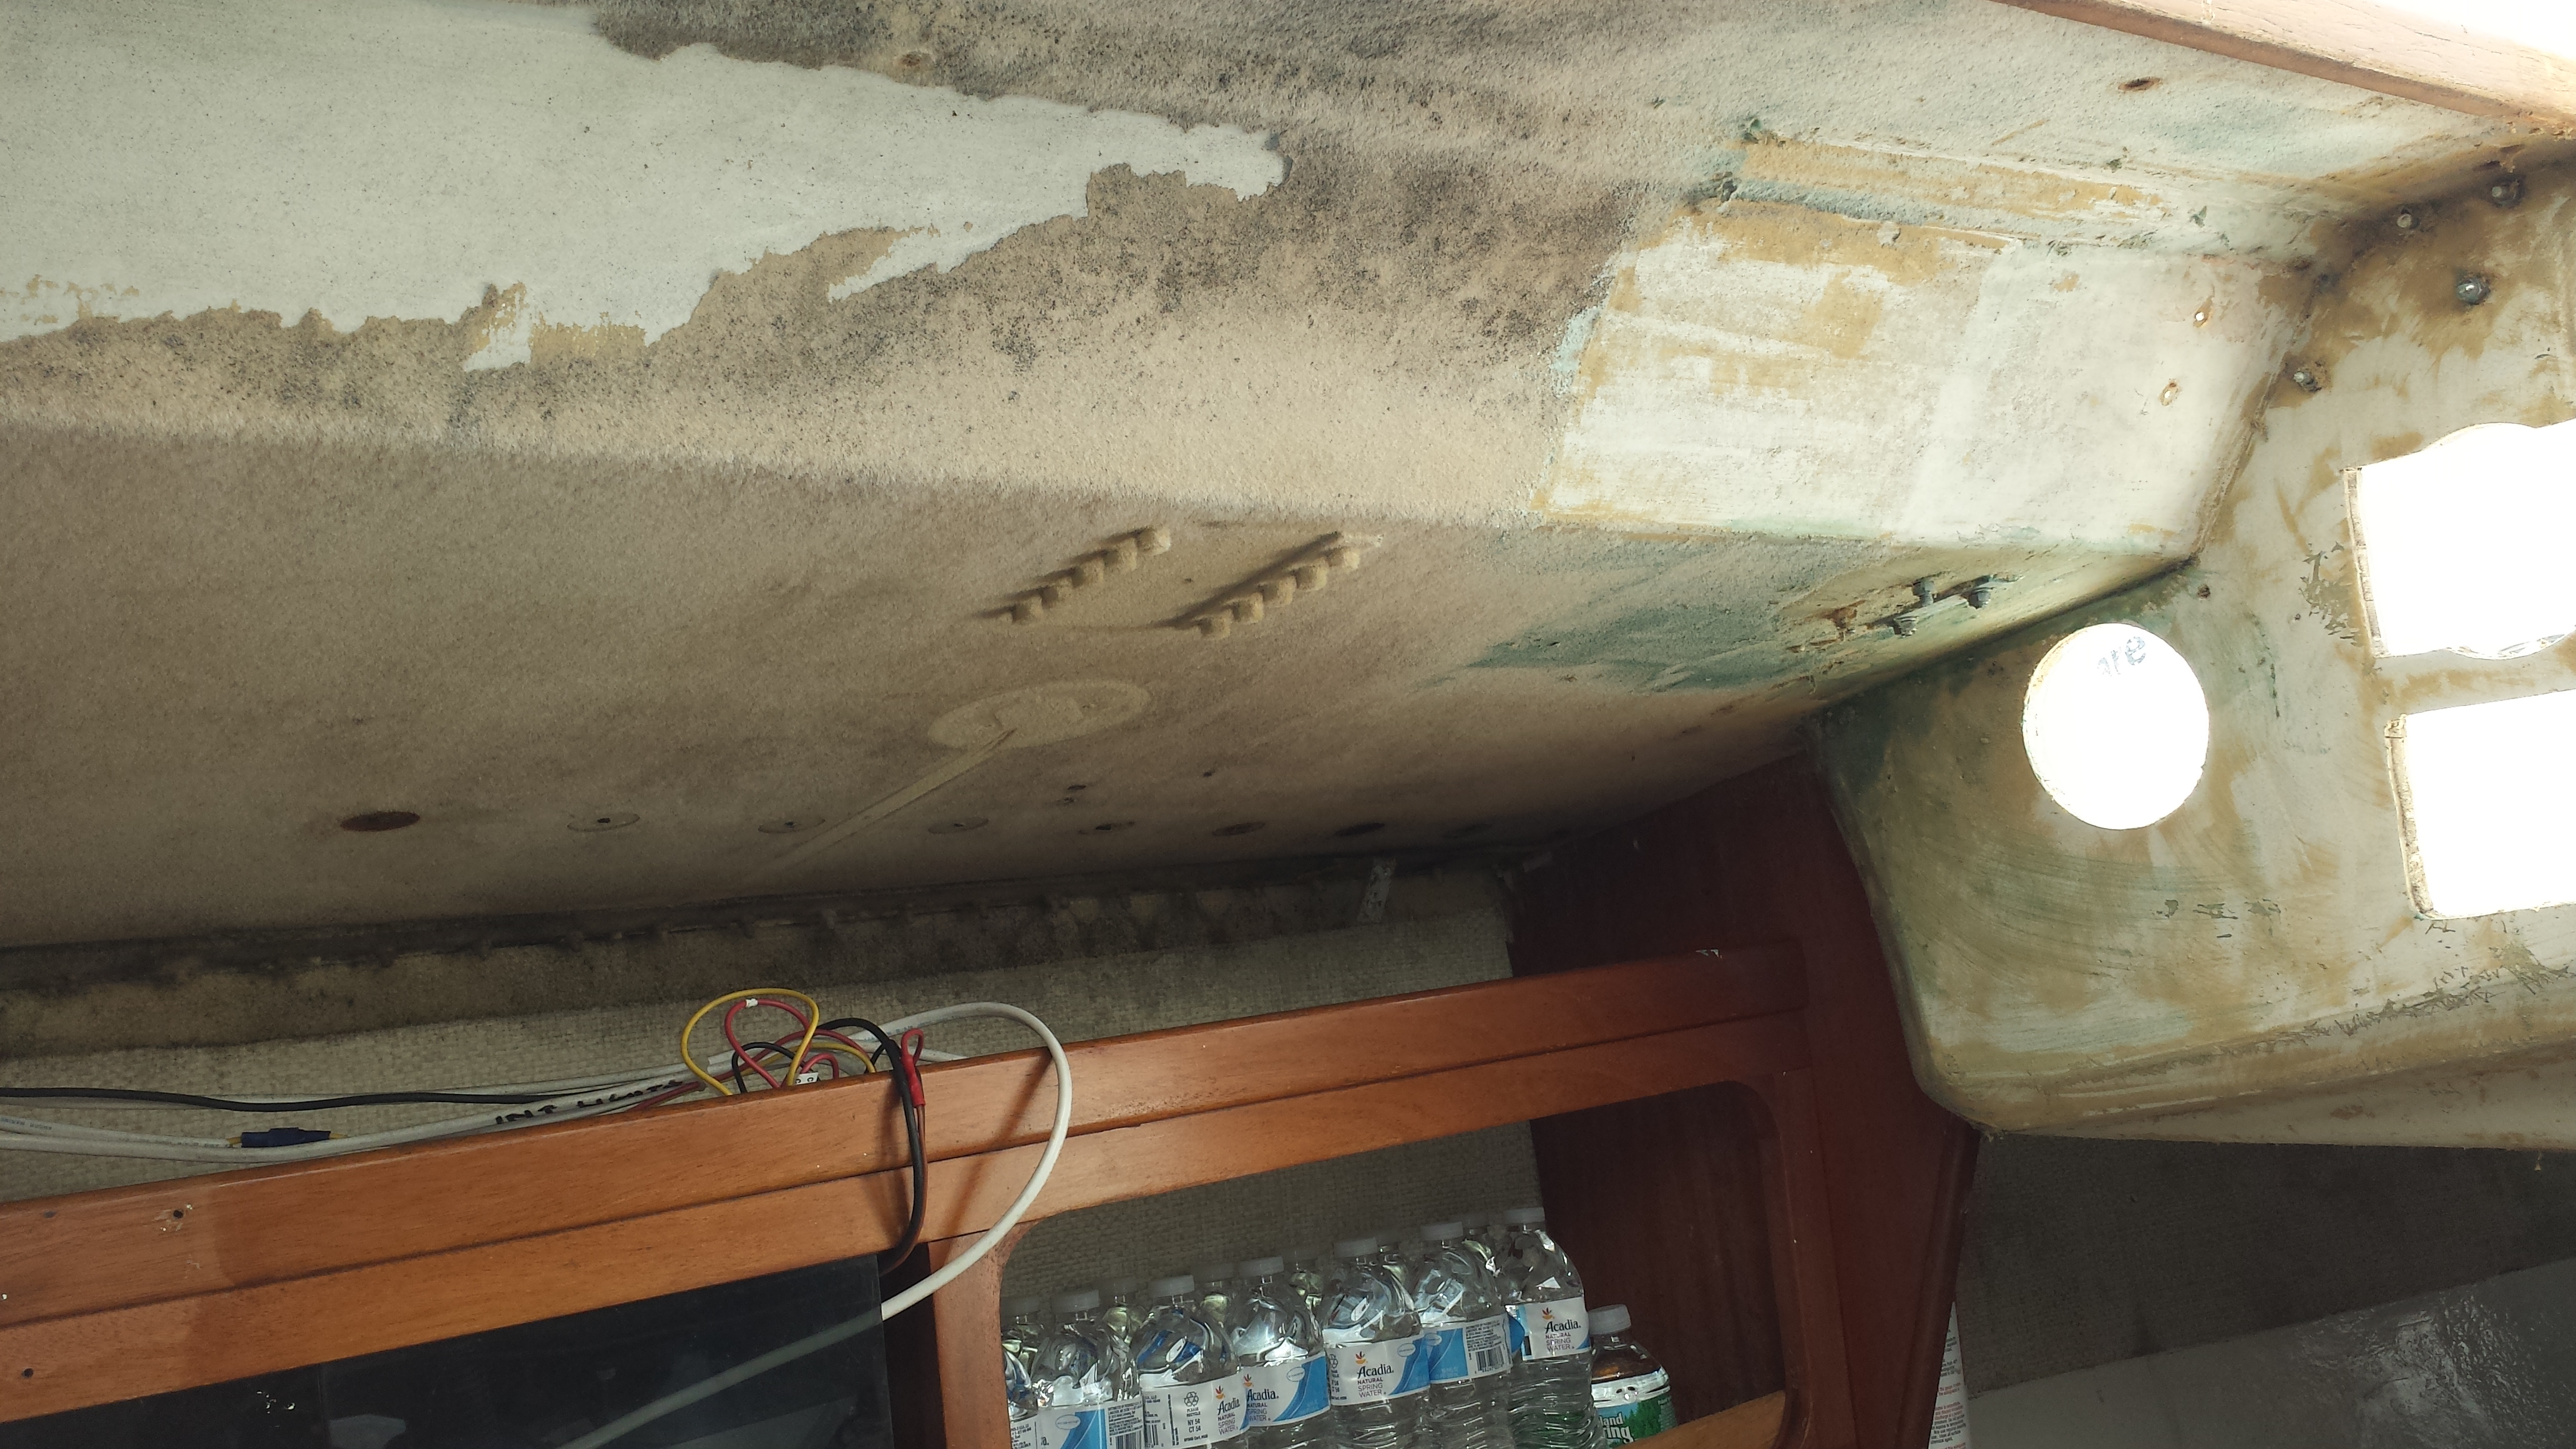
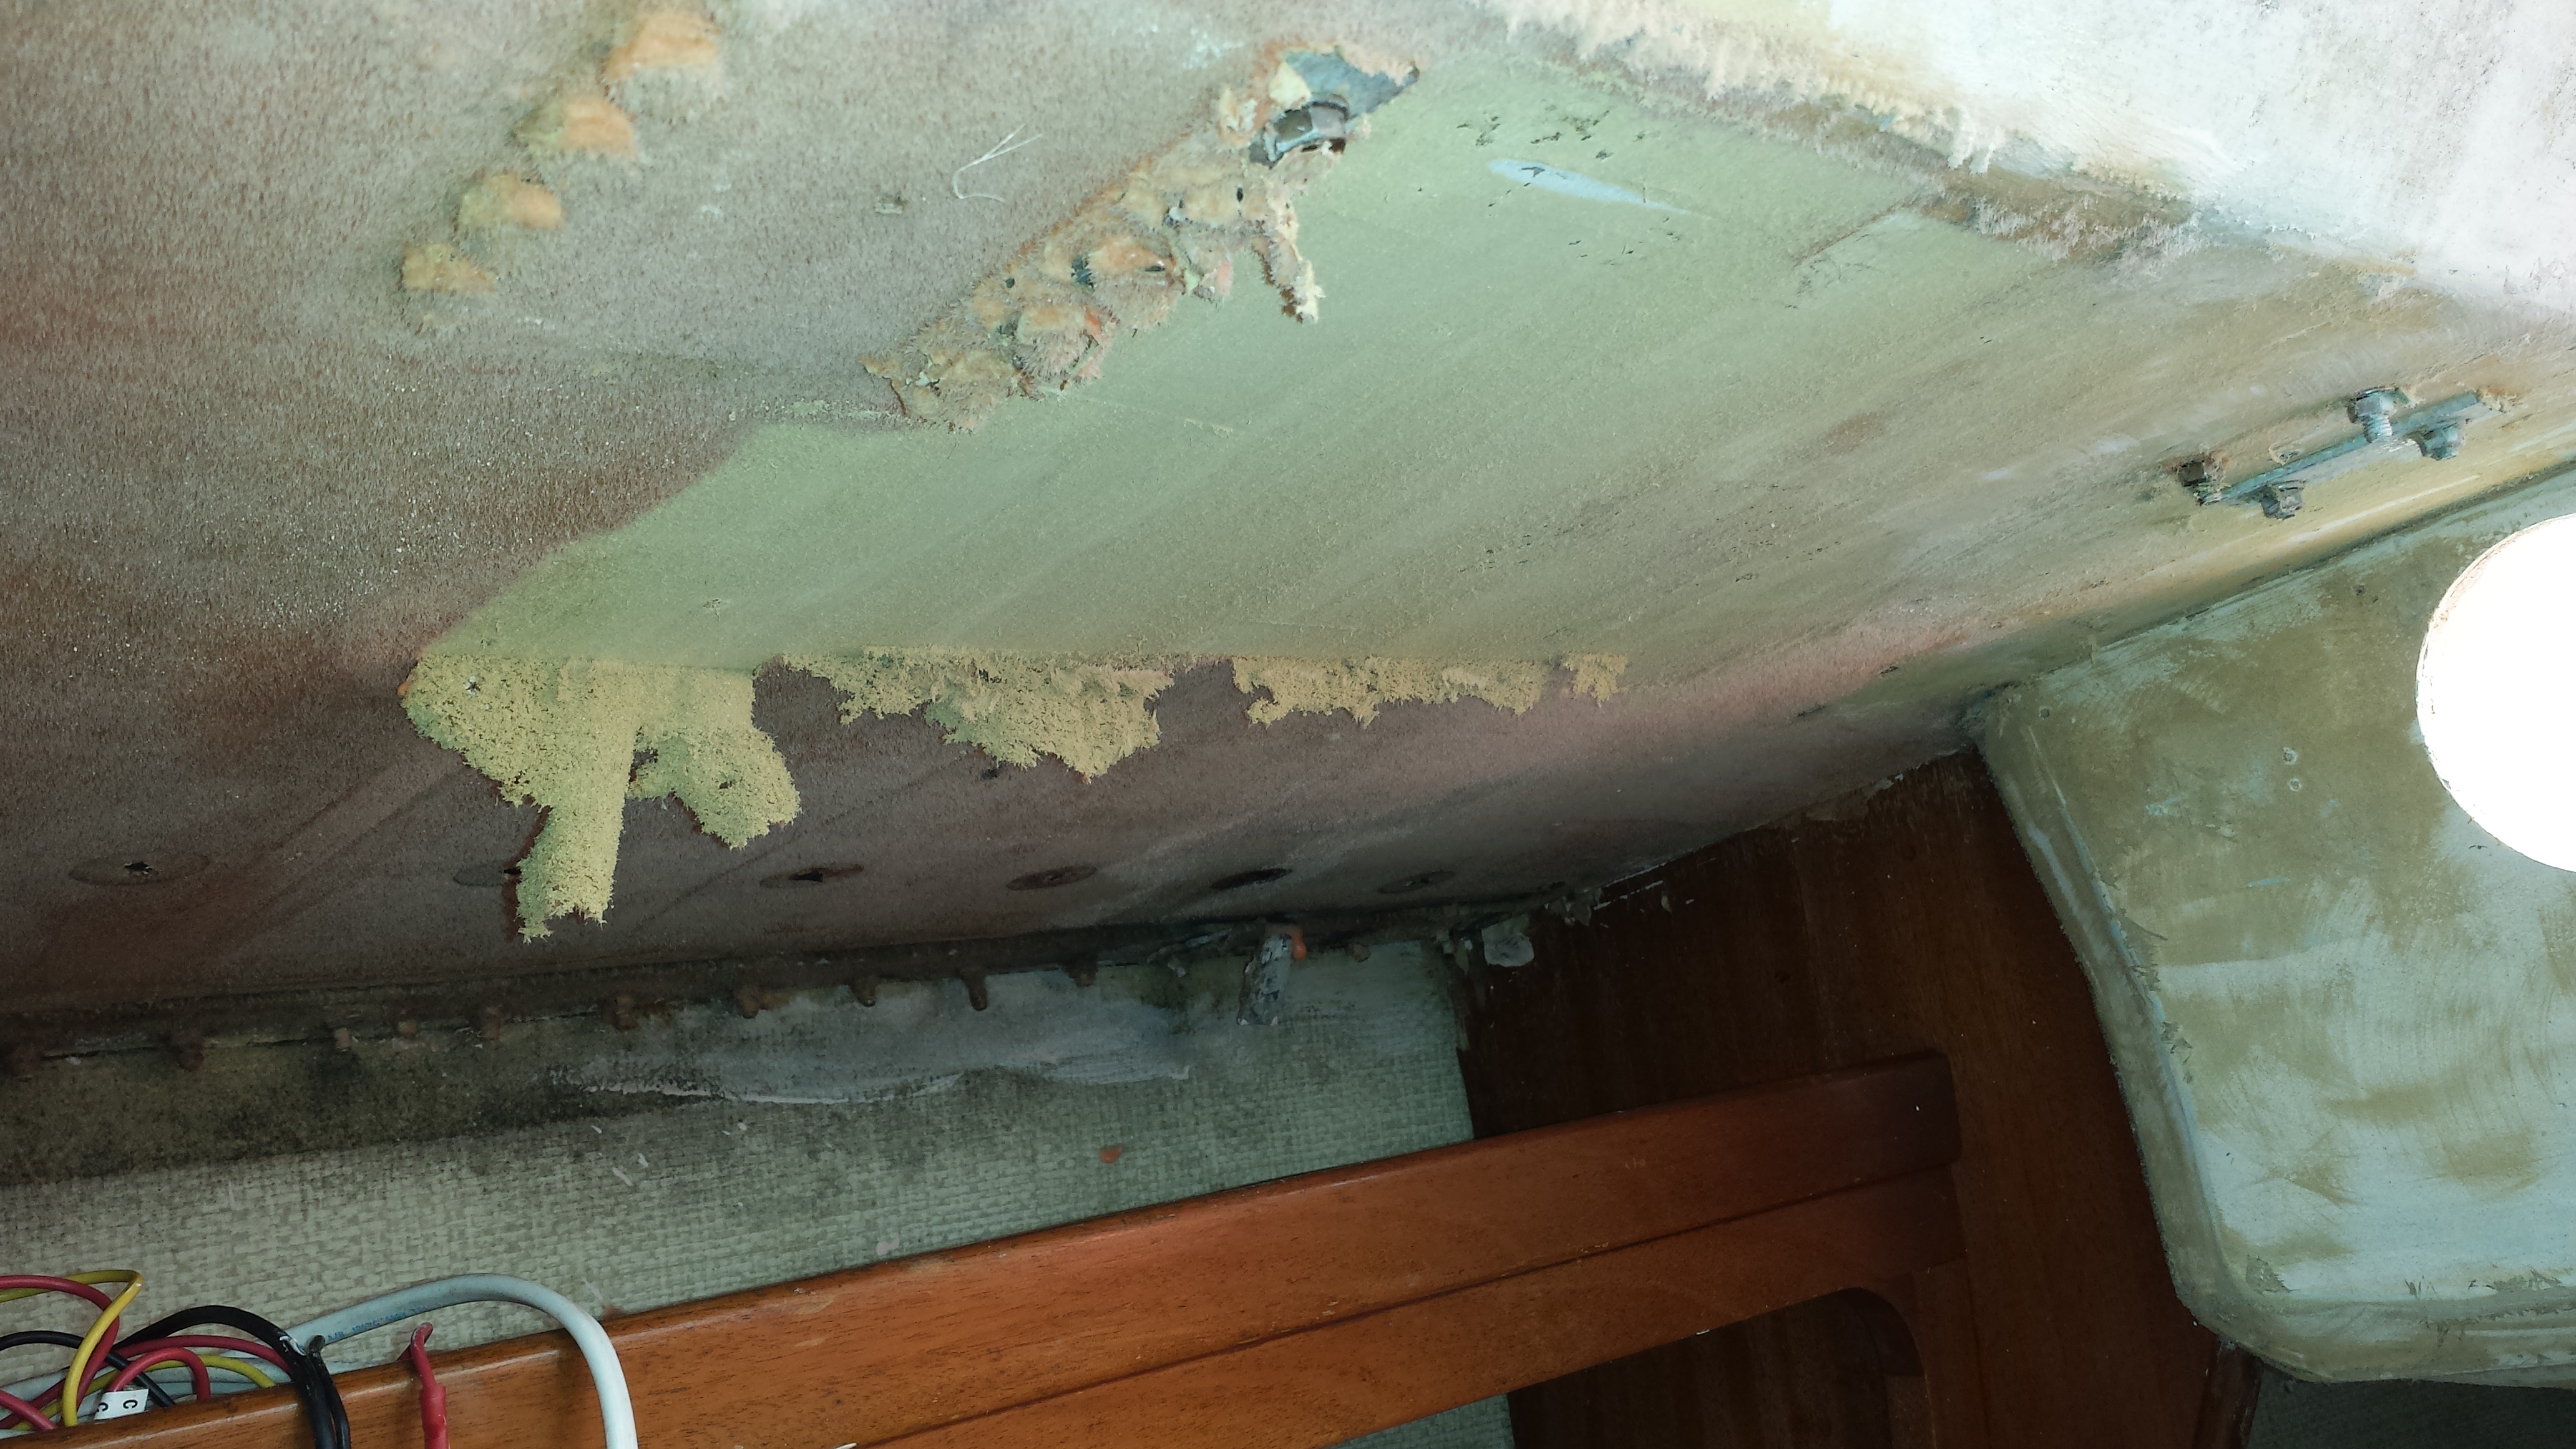
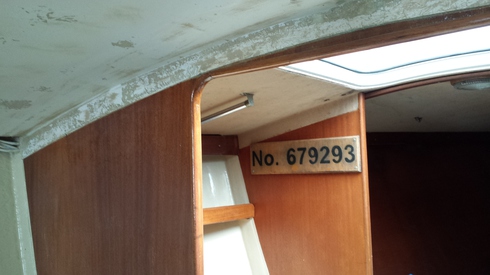
Above:  A view of the forward cabin bulkhead, head area "hanging locker," and a glimpse into the forward cabin.  Elizabeth has applied gloss varnish to the trim piece and will use satin varnish on the bulkhead wood.  The overhead and tabbing are getting a new hull blanket before too long.  The mouse fur story is coming to an end.

We use interior finishes from MinWax and Rust Oleum.  We have used these products around the house and know their characteristics.  The Helsman-brand varnish from MinWax has UV protection and is easy to handle.  It is also about half the price of the marine store variety.  Same story with Rust Oleum paints.  They have good adhesion, are easy to use and don't cost much.  The down side is the limitation of colors.  Almond is OK and I don't know that we'd have really chosen a different one given more choices.

Averisera should be fun to sail, sail well, and comfy to live aboard.  Those are our goals with this project that started oh so long ago.

Averisera: Deck Paint Again

| No Comments | No TrackBacks
Our first pass at rolling the paint on was a little inconsistent so we will roll on another coat of Pettit 3711 Platinum grey paint.

During the experimentation phase we learned that a 3/8 inch nap roller worked better than the 3/16 nap recommended by Pettit.  On a smooth surface that is the correct nap.  TreadMaster is anything but a smooth surface.  We did not try a coat of primer white when experimenting.  Now, we suspect a primer would have stabilized the absorbancy (if that's a word) of the decking material.

20160729_104450.jpg

Too late.  We'll get another can of 3711 and roll on a second coat.

Meanwhile, Elizabeth is also sanding and varnishing below.  The wood is very variable in condition because somewhere in her past, Averisera was laid up ashore and flooded with rain and snow.  Her work is showing results and "decorate interior" is on the project list.

Also on the project list is sailing.  The light at the end of the tunnel is the end of the tunnel?

Averisera: Moving towards launch, deck paint!

| No Comments | No TrackBacks
I have no idea how many hours are involved.  Someday, maybe, I'll try to guesstimate it.  Big things from today:  Elizabeth is almost finished with the renovations below.  On deck, we painted the TreadMaster decking.

In 2007, we bought the boat and she looked pretty darn nice.  The charcoal grey TreadMaster deck was a bit of an issue but we were not going to change it.  Oh my, it was hot on sunny days.  On occasion, a bucket of cold New England sea water would cool things quickly.

At boat shows, Norm talked with various paint salesmen who said there is no known way to paint TreadMaster.  So...  Norm painted a small section. After four years,  it looked as good as new. This year... as in TODAY... we painted the entire deck with Pettit Platinum 3711 single part paint.  TreadMaster is a bit like a sponge and really soaked up the finish.  It was hot and the finish was dry to the touch in an hour.  The boat looks super!

20160726_171417.jpg
Above:  Before!  We lifted the mast supports and washed the deck aggressively with tri sodium phosphate and rinsed thoroughly.  Many deck fittings have been removed for the hull blanket project which follows in a few days.

20160728_135732.jpg

Above:  Paint versus no paint.

20160728_161857.jpg
Above:  Job done.  We will let the paint dry overnight and pull off the masking tape.  The Platinum does not look as blue in real life.  No matter, we like the new lighter color.

20160728_161953.jpg
For two years the mast has been supported by a cradle we made.  It rested on the deck which we wanted to pain.  We ooched and wiggled the structure up to make the legs clear of the deck and painted under the legs without issue.

Only time will tell if the paint will hold out and we will remain satisfied with the job.  Heck, in five years, I'll be 71 and who at age 71 cares about style?  The boat will sail as well as she did after her launch in '84.  

Next big project?  Hull blanket.

Averisera: Sep 2014 to July 2016

| No Comments | No TrackBacks
We hauled out in September of 2014 and started what we planned to make a winter's work of a few chores.  things we thought would just take a while.  Hmmm...  The renovation of Averisera proceeds.  

The bottom is scraped clean of old bottom paint and ready for barrier coat and bottom paint.  The mouse fur on the interior headliner is removed and the overhead ready for a new hull blanket.  Winches are off and cleaned and repaired as required.  The old instrument holes in the cockpit bulkhead are filled and fair, ready for paint.  The interior painted surfaces are refinished with an almond paint color.

It has been quite a process.  Remaining tasks:  Wash the deck in preparation for painting the deck light grey.  Tape off the areas we aren't painting on deck.  Sand and varnish the interior trim.  Install the new hull blanket.  Install the deck hardware.  Check the rig and launch.  Go sailing.

20160726_102026.jpg
Above:  The port quarterberth has two coats of fresh paint.  We will install the newly painted berth boards and clean up the varnished surfaces.  

20160726_093324.jpg
Above:  The berth boards are finally sanded, primed and painted  Looking much better.

20160726_093331.jpg
20160726_093344.jpg
Above:  The garage and truck (mobile shop) are doing super duty.  Someday we'll have a clean garage and a car back where it belongs.  But... for now.... it is all about boats.

The Garden

| No Comments | No TrackBacks
Perennial flowers and various vegetables all going strong.  We are going to harvest a lot of tomatoes soon.  A special tip of the hat to my classmate from St Andrew's, Matt Tobin, of Tea Lane Nursery on Martha's Vineyard, who came buy one day with compost.  I had no idea a load of soil would make such a difference.  Thanks, Matt.

20160711_102019.jpg
20160711_102026.jpg20160711_102038.jpg20160719_074137.jpg20160719_074202.jpg

Vinylester

| No Comments | No TrackBacks
Averisera has some old instrument holes left over from the days she had Occam instruments mounted on the bulkhead at the forward end of the cockpit.  They had been removed years ago and temporarily plugged.  This year we decided to do the job right.  Beveled the edges, made a "core" from okume plywood and laid up the cloth in vinylester resin.  Darn if it didn't work in large part because son Zachary gave us very helpful advice and some hard to find materials.  And, his mom, Elizabeth, is a clever worker in fibers and fabrics.  Now, she is a clever vinylester and fiberglass cloth worker.

OccamHoles.jpg
At the start of the project, we had to bevel the edges on both side of the bulkhead and make a replacement core.  In the end, the surfaces will look as if no holes had ever been cut.  

OccamHoles2.jpg
To hole the okume "core" firmly in place, we fitted some wood and screws to hold the core  steady.
20160719_145024.jpg
The holes are filled and glassed.  After the resin cures, Norm sanded them flush.

OccamHolesNorm.jpg
Norm, all suited up.

OccamHolesA.jpg
The process for the inside of the bulkhead was similar to the exterior.  In thins case, we over layed the repairs with a piece of cloth saturated with vinylester resin.  The interior will receive a new hull blanket in the coming days so the repair needs to be strong but cosmetically perfect.

OccamHolesC.jpg
The exterior of the repaired holes got a layer of Jamestown Distributor's TotalFair which is a good product, easy to use and strong.  Later the surfaces will be painter with Hatteras Off-White paint.  If the repair is conspicuous only because of the close enough paint job we are calling the repair a success.


FeinToolTruck.jpg
The Fein Tool is a very fine tool for the work we just did grinding smooth and fairing the Occam Instrument holes.By the way, Occam Instruments are just fine.  The ones that came with the boat were old and failing.  Elizabeth and I are not racing at a very sophisticatred level where replacing Occams with Occams makes sense.
http://www.ockam.com/

A Solo Row, July 1

| No Comments | No TrackBacks
Late afternoon on July 1st, after a series of showers, we took the Nutshell Pram to Lonnies Pond, for a practice row by Z. Marina was exhausted by our day's activities, and promptly fell asleep in the car on the way there. While she napped, Z had the Nutshell all to himself.

We tied a long tether to the bow, and let him go back and forth to the extent of the tether. Clearly, he had been studying, and was able to execute a very capable stroke!

20160701_164156e.jpg
Zrowing.png.png
Click on the image to see the video of Z's solo row.
On June 30th, we had the Cambridge grands with us. Perfect day for a sail in the skerry, in Pleasant Bay.

We launched the boat at Round Cove, and loaded her with our gear, ourselves and the two kids. Blue skies, light winds, comfortable temperature.

20160630_124107e.jpg
Little Sipson Island is a small uninhabited island out near the barrier beach, in Pleasant Bay. The beach is full of great skipping rocks and Marina found a little starfish, which was the treasure of the day.

20160630_124230e.jpg
On the way back, Z took the oars and did a very creditable job of rowing us out of the shallows. Good Job Z!

20160630_124245e.jpg
Marina was worried that we were VERY FAR from home, but found that we scooted pretty quickly across the bay. Her dismay was understandable; we had overstayed, and only brought snacks, not lunch.

20160630_133835e.jpg
After lunch, we spent the afternoon at Jackknife Beach.

Trip to NC, June 11-19

| No Comments | No TrackBacks
Norm made reference to our trip to North Carolina. Duke diving camp, and the restoration of the dinghy Green Herb were on the agenda, along with visiting with family.

Green Herb needed new thwarts and one new rail. Some epoxy repair to replace and reinforce rotted wood on the bow and transom. New coat of paint inside, and new coats of paint on the repaired wood surfaces. And a new coat of varnish on the oars. Plus a rope wrap!

20160615_193853.jpg
20160616_081725.jpg
20160616_081835.jpg20160616_082015.jpg20160616_190050.jpg20160617_153019.jpg
A full week! Long road trip!

Averisera: Paint and more paint

| No Comments | No TrackBacks
With the mouse fur removed, we are doing some interior paint and varnish. On July 11th, we took off the shrink wrap. Here Elizabeth is popping out of the top, while slicing the cover down the middle.

20160711_133321.jpg
20160711_134422.jpg
Almost done. Cut the tapes and wrap up the pieces for disposal. It didn't take long. 

Now Norm has some outside work he can begin. First step was a wash, to get rid of one and half years of grit under the cover. Sand the stripes, both the topside stripes and the waterline. Tape off the waterline. Tape off the gray stripe. Paint.

20160714_111355.jpg
The waterline red is getting primed first. Red doesn't cover very evenly, if the undercoat is at all variable in color. The gray stripe looks pretty good. Once that cures, we'll tape it off, and paint the two red stripes on either side.

Elizabeth is painting the interior. The cabinet doors and drawer fronts have already had 3 coats of Rustoleum Almond over a prime coat. So the cabinets themselves and some areas of the interior hull in the salon, are getting new coats of paint as well. It's a tight space and difficult to make your way around, without touching a newly painted surface.

20160713_124614.jpg

Jobs to do before putting in the new headliner material are to paint the cabinets, and varnish the interior wood. Both of these require some sanding to prep the surfaces, and we don't want all that dust collecting in the new headliner. So these come first. Then the headliner. One other job that needs doing before the headliner, is to fill the holes in the cockpit bulkhead, where instruments used to be. Our new instruments don't need 4 inch holes, so we're closing these up.

20160711_145548.jpg

Grinding the edges down was completed today, ready for filling and fiberglass. Then awlgrip to cover the patches.

Mouse Fur, not the title of a novel

| No Comments | No TrackBacks
The headliner of Averisera is a fuzzy material, we call it Mouse Fur, that is somehow glued in place and terribly difficult to remove.  It was an OK thing until the Mouse Fur began to deteriorate in the vicinity of the main hatch.  

Below:  The areas in the head and forward cabin remain nice enough.  We aren't ready to remove "nice enough."

20160707_154353.jpg
Below is the starting point.  Some material flaked off and some we could scrape off with a putty knife.  The rest had to be removed with various paint removers.  We only used the water-based low VOC, non toxic types such as Citri Strip and West Marine's product.

2015rebuild003.jpg
2015rebuild005.jpg

20160707_154331.jpg
Ready for the next phase.  The surfaces are free of mouse fur and the adhesive.  We used our Dewalt 5 inch orbital sander and our Fien multi-tool to sand the surfaces clean and smooth.

It seems as if we turned a big corner on this project July 8th.  Clean the boat and start the process of applying the new hull liner supplied by SailRite.


Time to update the blog!!

| No Comments | No TrackBacks
We built a boat.  We are renovating another, and the two houses we worry about are in pretty good shape.  Oh, yeah.  Grandson, Luke, from New Canaan, went to a Duke U diving camp and we stayed with my sister, Patience.  Grandson Zephyros learned to row.  Grandson Marc learned to drive, and Granddaughter Marina got some new dresses made from Norm's old regatta t-shirts.  Some pictures.
2011OCT12 109d.jpg

20160616_182548.jpg
20160616_105708.jpg
IMG_2562.JPG

About this Archive

This page is an archive of entries from July 2016 listed from newest to oldest.

June 2016 is the previous archive.

August 2016 is the next archive.

Find recent content on the main index or look in the archives to find all content.

Monthly Archives

Pages

Powered by Movable Type 4.34-en